Showing posts with label Michaels. Show all posts

Tuesday, October 8, 2013

Today Is a Journey

Sometimes I forget to take each day as they come. Everyday is different and everyday there is a chance to do something amazing...no matter how small it is. Sometimes its hard for me to remember this. I get caught up in daily struggle of work, being a mom, being a wife and being myself. I made this birdhouse for myself....which is very rare. I almost never make anything that I plan on keeping for myself...no matter how much I love it. But this...this is for me. My daily reminder that today, anything can happen and today I can start a new journey.


I made this birdhouse by using Marion Smith Designs' Nirvana collection. I Used the pages, Family Record, Documented and Cloud 9. If your favorite craft store doesn't carry Marion Smith Designs' items yet, you can order through Amazon. The birdhouse template can be found at Marion Smith Designs Shop. I also used flowers from Michael's craft stores and the balls are from some floral picks that I had stored away. Hope you enjoyed this project. Thanks for stopping by!

Friday, September 20, 2013

FREE Printable: Spooky Halloween Banner

Hello everyone! I wanted to share with you this Halloween banner I made...and I'm giving it to you for FREE (my favorite "F" word)!!!! Here's the banner...I'm not too sure where I'm going to officially hang it yet, but I have about a week until I will start decorating for Halloween so hopefully by then I'll figure it out.


I printed mine out on brown/cardboard looking card stock that I had on hand. I bought a 50 sheet pack from Michael's awhile back. I used my crop-a-dile to punch holes on each side of the banner pieces and strung them up with black ribbon. And you know me, I inked my edges even more...I love the grungy look...especially for HALLOWEEN! This banner can be printed on any color paper you want or you could also print it on white and you could glimmer mist it, which would look pretty cool. 

Now you can download your copy of the printable PDF by clicking HERE. Have fun with it! And as always, thanks for stopping by!


Tuesday, August 27, 2013

Decoupage Bird

I recently went to Michael's craft store and had a mini shopping spree. One of the things I purchased was an unfinished wooden bird. Here's a video on how I stained and decoupaged it.


Here's how my final bird came out. I used some berries and leaves from a pick I purchased awhile back and glimmer misted a Prima flower and hot glued them into place. 


Sunday, August 11, 2013

Pinspiration Sunday: BOO! Sign

So I've seen a lot of signs on Pinterest that say "BOO!" And I finally decided it was time to make my own. Everything I used in this project I already owned...whoo hoo! So here's how mine turned out:


Mine got a little bigger than I was originally aiming for. Here's my original pin:

fall wood crafts | Burlap HALLOWEEN wood Stacked Home Decorating Blocks Fall Decorating ...

This beautiful sign was for sale in an Etsy Shop called PeaceGlitzNGlam but has since sold.

I began my project with 3 wood pieces...I have a ton of these because I came across them one day in ACMoore and they were only 25CENTS!!!!! 


I painted the fronts and sides with black craft paint and a sponge brush. I use sponge brushes whenever I can. They are crazy cheap and great to use and toss especially when working with Mod Podge!


After they dried it was time to cut the burlap. I happen to have a strip cut from a prev project which also happen to be the perfect width. All I had to do was cut the length. Burlap frays so easily...so here's a tip: pull one or two fibers out from the area you want to cut, then cut through that area. See the picture below? I pulled a thread out. then cut along that open space.


I did this for all three wood pieces. Then I covered the wood pieces with Mod Podge and pressed the Burlap on top to secure.


Next, I cut out letters using the Happy Hauntings font on my Cricut Craft Room and some creepy spider paper I had left from a previous Halloween mini album.


I decided then to ink the edges using Tim Holtz distressed ink in Peeled Paint. But after I started inking the edges, I decided to blend and cover the entire letter. I knew that I wanted to use 3D adhesive dots to help the letters stick off the wood pieces, but my paper was really thin. So I decided to laminate them. This also helped me to ensure that my sign could last through the years.


For some reason I decided to take this project even further. I had this picture and frame that I bought at a thrift store months ago for $1 or $2.


I pulled all those staples out.


Then I tried painting the front with craft paint. But I realized it was going to take A LOT of coats to cover it. So I flipped it over and painted the back. 


I had this bottle of crackle medium...it's a very OLD bottle...but I gave it a shot...


After covering the frame with the crackle medium and allowed it to dry, I painted the frame black.


It worked...okay...but it's supposed to look grungy so it worked for me! By the end I went along some ridges and edges of the frame with silver craft paint too. While that dried I finished off the "picture" part. I knew I wanted something else for the background...plain purple just wasn't going to work. I thought about drawing some spiders on...but then I looked through my lace and I had a small piece of black that was just a bit longer than what I needed! WHOO HOO! Perfect! I covered the purple area with Mod Podge and pressed the lace on top to secure. Then I cut the excess off the ends.


Once it was all dry, then it was time to put the background back into the frame. I secured it with nails I had in a tool kit and added a picture frame hanging bar thing (technical name, I'm sure) to the back. Next I hot glued the wood pieces into place. The hands came from a bag full that I got from Michael's (and they have them this year too)!


Hope you enjoyed this tutorial! Thanks so much for stopping by!


Sunday, January 6, 2013

Pinspiration Sunday: DIY Grip Socks

DIY grip socks...another great find on Pinterest…actually so easy I can’t believe I didn’t think of this on my own. Now that Grayson is on the move these days he needs to have grippers on his socks so his feet don't slide out from under him. Sure you can buy those socks but they can be pretty expensive. So why buy them?!?!

Supplies:
Socks
puffy paint
cardboard

I went to Kohl's and got a 6 pack of patterned socks (I don't remember the cost but they were only a few bucks). I took an empty box and cut it into rectangles that would fit inside the socks.


I already had the paint but if you don't you can get it anywhere...Michael's, JoAnn's Fabrics, Wal-Mart. Mine is from A.C. Moore and I only paid just over $1 each (very inexpensive!) Then it's time to design...I wrote the size on the bottom so I would know for future use.


Follow the directions on the paint bottle. Mine said to let dry 4 hours and don’t wash for 72 hours. So simple and saves money…who doesn’t love that?

Sunday, December 9, 2012

Pinspiration Sunday: Christmas Wrapping

This year I found a new way to wrap gifts for Christmas on Pinterest. Just use brown packaging paper and some ribbon and stamps. I love this amazingly simple and clean look! This is my original pin from The Haystack Needle:


This is what mine look like:


The paper I bought from Amazon. It was about $26 and it is a HUGE roll. If you would like to check it out you can find it here.The ribbon I bought at Michael's clearanced for $1.99 a roll. And the stamps I also bought at Michael's. They were originally $9.99 but on sale for 40% off.

And then I found this idea:


As soon as I saw the above photo on Pinterest I did the “pin now and look at it later” and started saving my toilet paper rolls. But then when I went back to look at it, it went a video which does not show you how to make them. Just shows ones made. Not too much of a worry for me because as I’ve said in the past, I like to figure things out on my own. This toilet paper roll gift boxes work great with this look. I didn’t need to do any decorating to them. But you could always cover with scrapbook paper prior to getting started. Here’s how I made mine. First I flattened the roll out.


Next I grabbed a ribbon roll and placed it at the end of the roll and scored the outer edge to make a curve. I did this on front and back and both ends. Using the ribbon roll allowed me to line up and make consistent score marks.


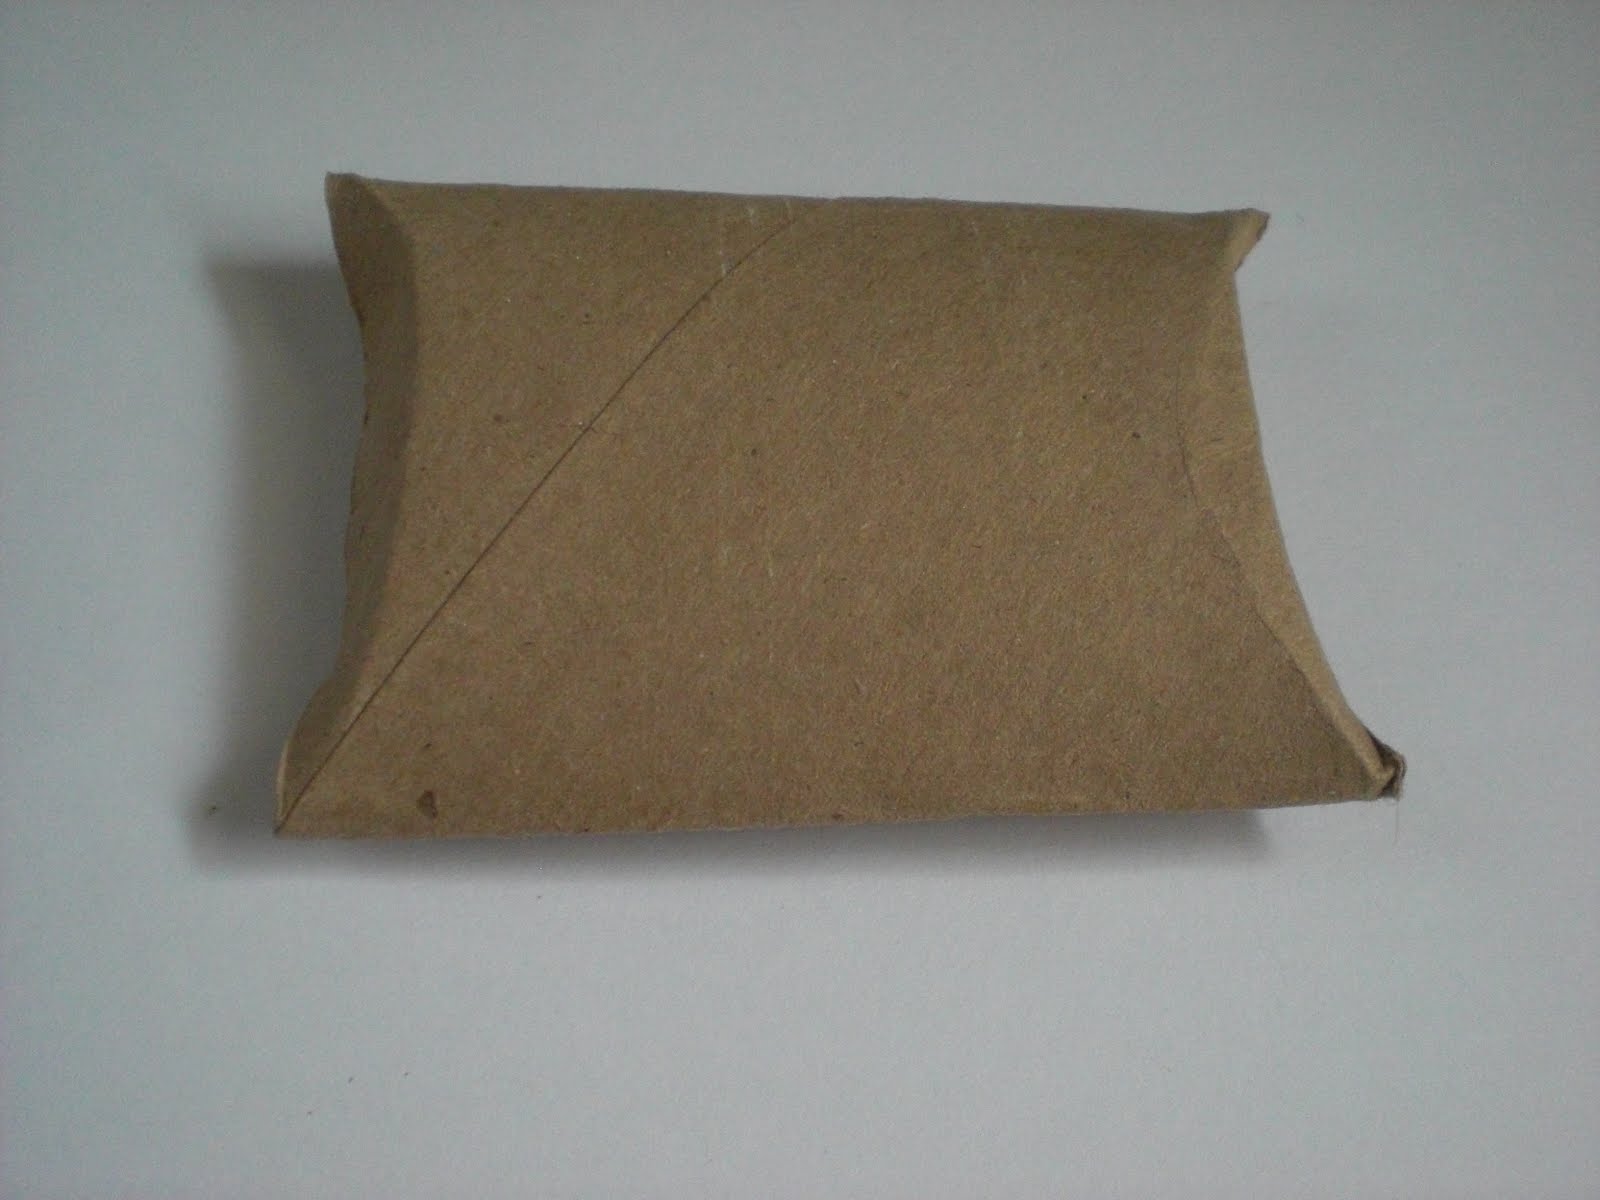
Then you fold in along the score marks to make the box close on each end.


My plan was to use these for gift cards. Unfortunately I did not measure the gift card to the toilet paper roll. What I found was the cards were too big to fit inside.


Not a problem…I’ll start again. This time I just free-handed the score marks and hoped they turned out okay...and guess what?!?!?! They did!


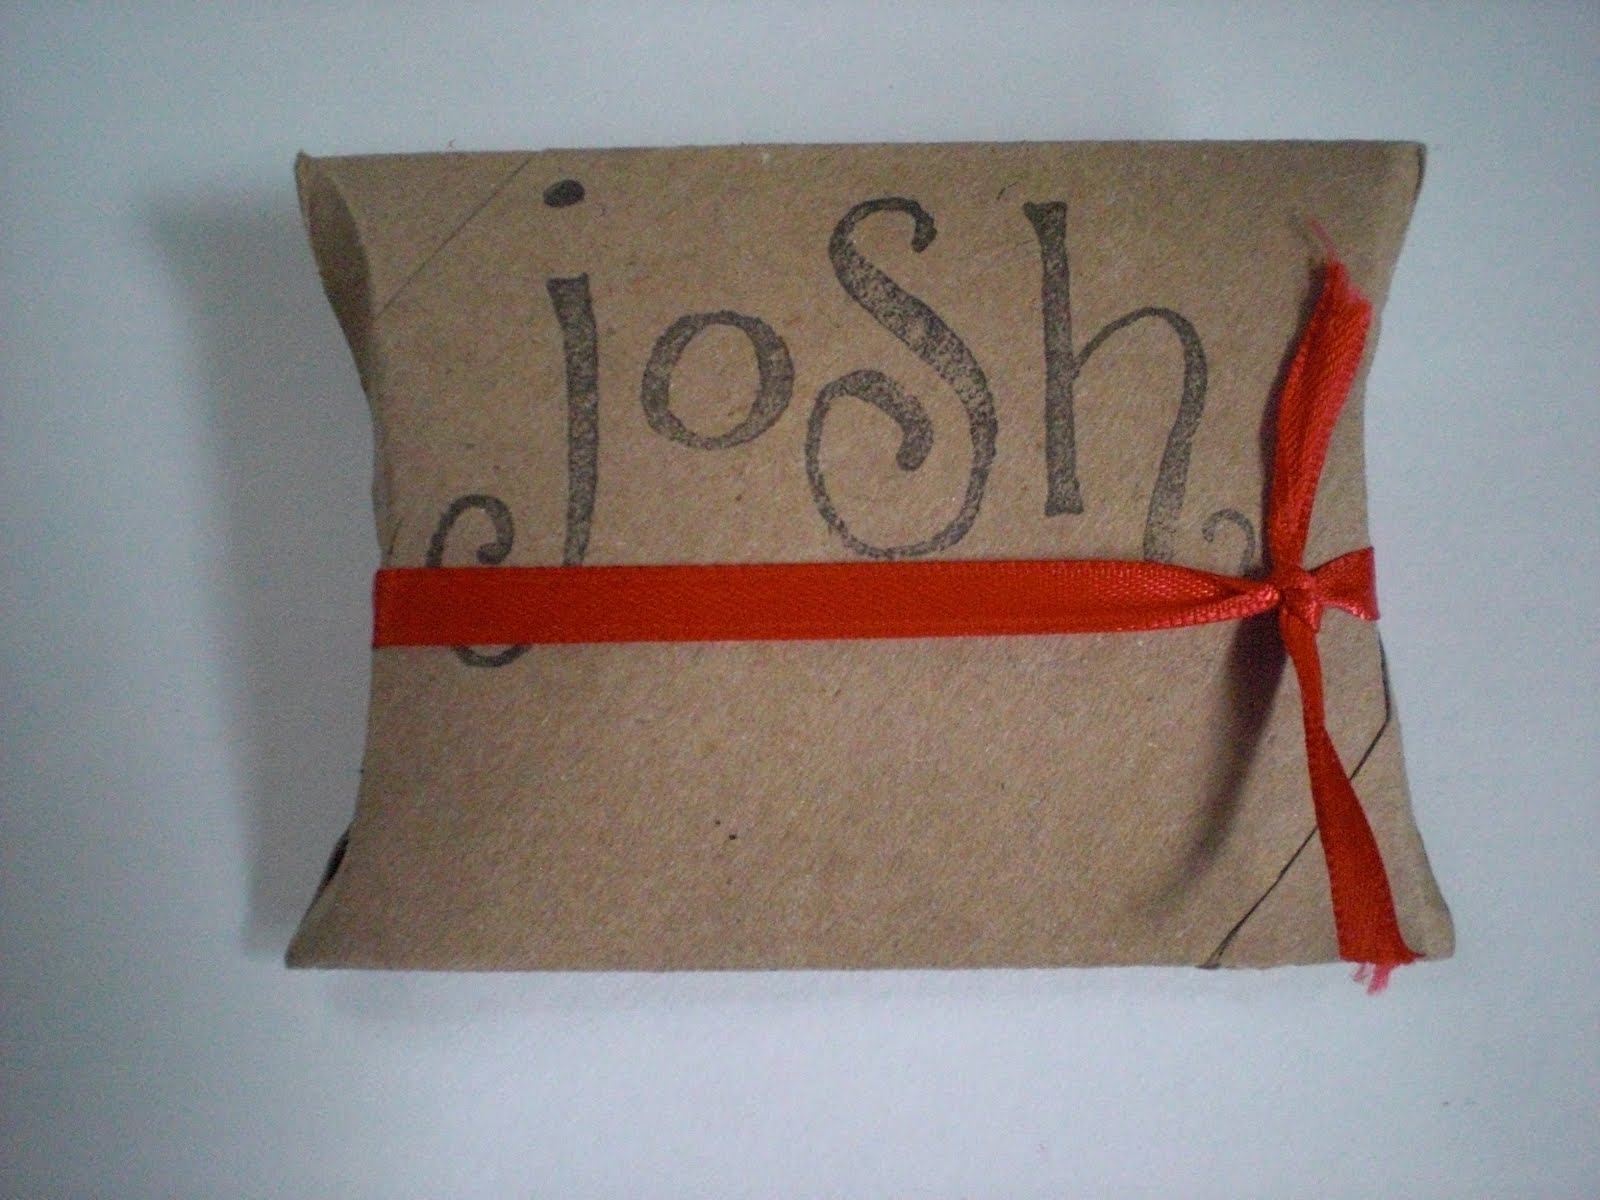
Next I stamped the name on the front. Placed the gift card inside and tied some small red ribbon around it.


Perfection! And cheap!!!!