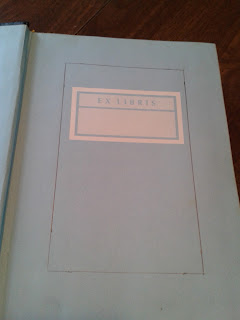
I picked up a few old Reader’s Digests a few years ago from a yard sale. I figured one day I would find something to do with them. When I saw this pinned by Better Homes & Gardens, I knew I finally had something…a keepsake box.
Now I have no idea what to put inside this thing, but I had to make it anyways. Here’s what I did to make mine. First I applied mod podge to the very last page and allowed it to adhere to the back cover. Then I applied mod podge around the outside of the pages and allowed them to dry completely (making sure the front cover does not stick to the pages).
After it all dried, I measured one inch around each side and marked it. And then I connected the marks.
Then I used my xacto knife to cut along the lines (I actually used my ruler to help guide my first cut all the way around).
Once all 4 sides had been cut, I removed the pages. Then I cut along the same path and removed those pages. I continued to do this until I reached my desired depth.
Next, I thought it would like pretty cool if I colored the inside of the newly formed box. I sprayed it with Tattered Angel’s Glimmer Mist and allowed it to dry. Then, I sealed the inside of the “box” with mod podge and allowed it to dry fully.
For the envelope, I already had a box of them that fit 4X6 inch cards. I distressed it using Tim Holt’s blending tool and distressed inks in Vintage Photo and Antique Linen. I attached it to the inside front cover using my ATG gun.
Next I just decorated it. I used a burlap flower I made (future tutorial) and a burlap leaf on the cover. This is my final book/box:


