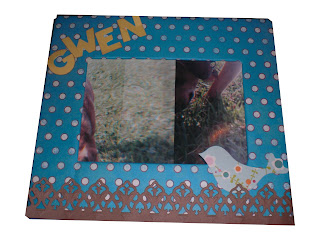
Here’s an easy way to decorate with your very own personal touch…make your own frame! All you need is :
~cardboard
~scissors
~glue stick
~tape
~scrapbook paper
~embellishments
~ruler
~pencil
First I started by finding a piece of cardboard that I could use. It was already just the perfect size so I just went with it. You may need to cut yours to a suitable size. If so, do that. Next, my picture I wanted to frame was a 4X6 picture so I needed the frame opening to be slightly smaller than that so I used my ruler and pencil to mark the size I wanted. Then I cut it out. I then placed that in the center of the cardboard piece that I want to use as my frame and traced it with the pencil.

Next I used my cutter bee scissors to cut an “X” in the center of the box I just made. You may need to use an exacto knife if you don’t have scissors with a sharp tip. This makes 4 triangle with one edge still attached to the frame cardboard.

From there I cut the edges attached off.

Then I used a glue stick and covered one side of the frame with it, and firmly pressed it onto the back of the scrapbook paper I was using and made sure it was thoroughly attached.
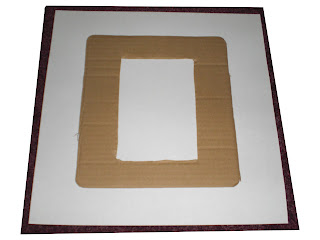
Next I used my cutter bee scissors to cut an “X” in the center of the box I just made. Again, you may need to use an exacto knife if you don’t have scissors with a sharp tip. This makes 4 triangle with one edge still attached to the paper.
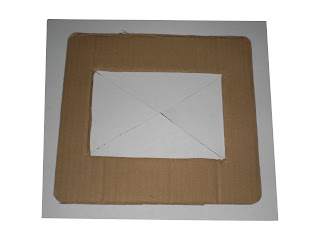
Next I used the glue stick to apply glue on these triangles and folded them back over the frame making the frame center open.
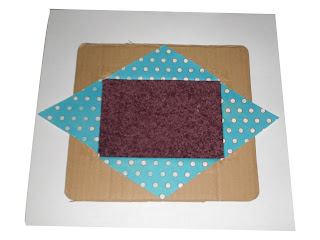
Next I cut off excess paper
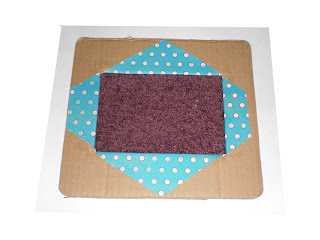
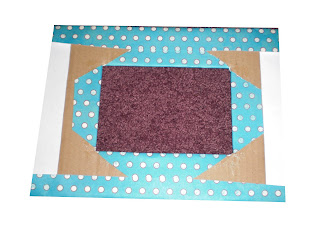
Then I folded the paper from around the outside of the frame towards the back and secured with the glue from the glue stick. I started with opposite sides so then I could make the edges smoother as they could be folded like a present.
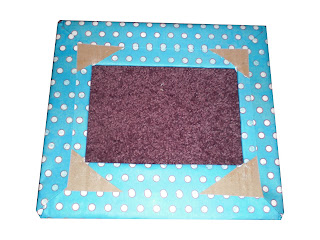
Next I attached the back of the picture I am using to the cardboard I used to trace the center of the frame. This provided a solid back for the image. I secured it with tape.
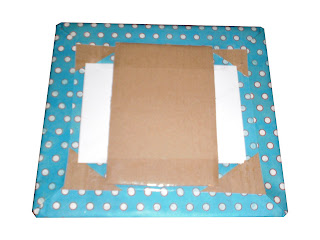
Then I took excess cardboard and made a stand by taping it to the back and folding it to secure it at a position that would support the frame.
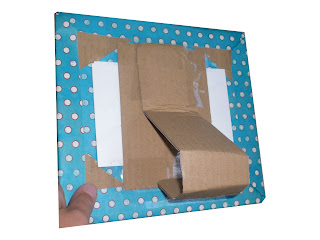
Then it’s ready for embellishments! Have fun with it!
