
When I originally thought about making these T-shirt rosettes I was going to use an old gray tee I had to cover my lamp shade for this lamp makeover. But then I decided not to. I have pinned several ideas for wreaths and I decided that I would make these flowers for on my wreath. Now some wreaths I pinned were spray painted...and I absolutely wanted to do that in the Spring which was when I purchased my grapevine wreath...and well...it was still sitting in my craft room closet with the price tag still on...but now I have made a gorgeous new wreath anyways...just a little different than originally planned.
I previously posted a video showing how to make the yellow flowers. You can see the how-to here. This post will show you how I made the orange flowers. First I had an old T-shirt that was given to my by a friend for FREE! (Love that word!) I was going to make a reusable shopping bag, but never did get around to making one with this shirt. {Please ignore the ugly stains on my carpet...Good Tip: always lay something down and around where you Glimmer Mist!}

Then I cut it into strips. I started at the seam along the bottom but was not using the bottom as a flower (I used it later on). I cut a total of 4 strips about an inch in thickness.


I cut two of the strips of t-shirt along one fold making two long strips. Then I cut the other two along each fold (2 cuts) making 4 shorter strips. This gave me 6 total flowers.
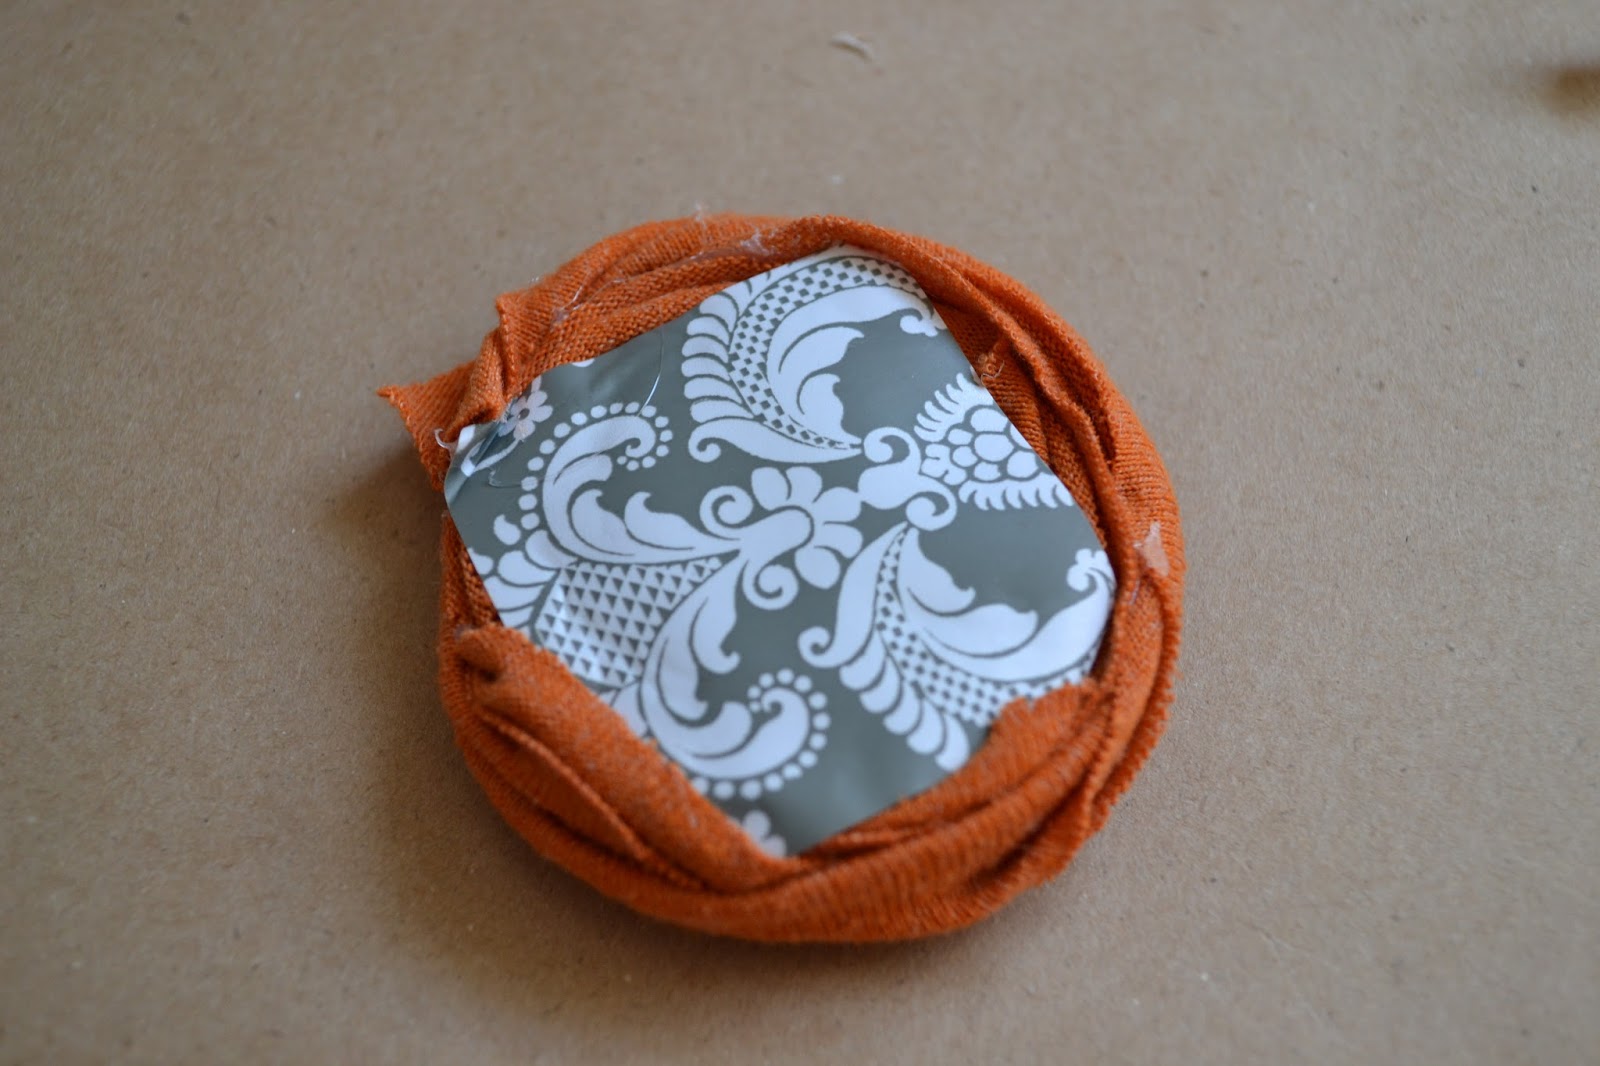
Next I used this awesome tape I got from Michael's. I only used this because it was had...LOL. But you would want to use something similar, just maybe not as decorative as the tape won't be seen.

Take one strip and fold it in half length wise

Next start at one end rolling and turning creating your center.

Although the tape helped hold the fabric together as I rolled I thought added some hot glue could only help and not hinder.

Just keep rolling around, hot gluing when you need to.

Once I reached the end I secured it down with hot glue. This is what the bottom looks like.
Then I just placed my flowers on my wreath. I figured out how I wanted them placed BEFORE I hot glued them down. Deciding the orange weren't enough, I added the yellow...and I still wanted some more filler so I added in some leaves. Then I used the T-shirt bottom as my hanger at the top.


Hope you enjoyed this tutorial. If you have any questions, don't hesitate to ask. Thank you for stopping by!

This is absolutely fabulous! I am so glad I found you and your blog. Love the burlap bubble wreath video also, you are the first person I feel confident "copying" as if I can do it!!!! I'm going to go raid my husband's closet now1 He's a big guy- so big flowers- I hope mine come out as cute as yours. Thanks so much- keep up the wonderful crafting!
ReplyDelete