Showing posts with label JoAnn Fabrics. Show all posts

Thursday, September 4, 2014

DIY Bird Pillowcase

I really wanted to have a throw pillow somewhere in baby girl's room. But since I had custom bedding, I would need a custom pillow. Now, as I have warned you in the past I'm not a great sewer...I'm not even sure if I'm a good one...but I did come up with this: 


This is how I made it...

Supplies:
Throw pillow to cover...I used a 12X12 purchased from JoAnn Fabrics
fabric to cover the pillow
2 accent fabrics for bird
buttons (I used 3)
thread
sewing machine
measuring  and cutting tools

I cut two pieces of fabric, one measured 14in X 14in and the other was 14in X 17in. 


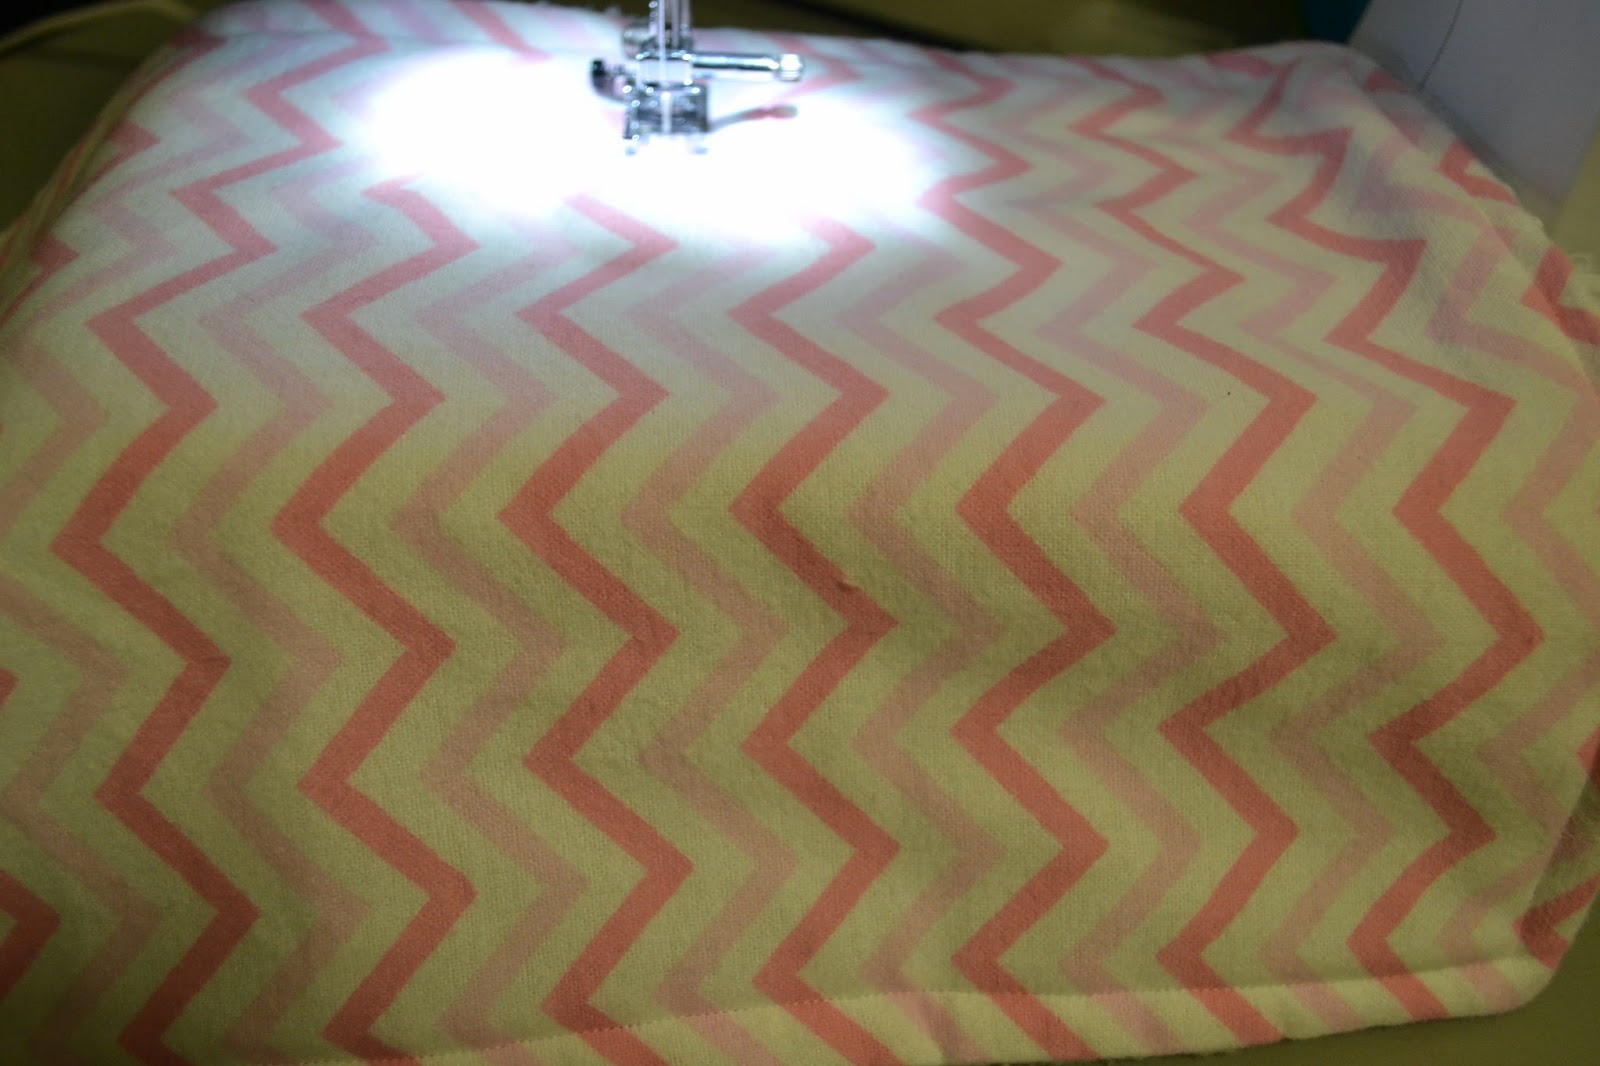
I used a left over decor fabric which had a nice finished edge to it. If you don't have a finished edge create one by sewing a hem along the end of the fabrics which will be your open end. You do this by folding you fabric over once and then again, pin and sew. This creates no raw edges.


Next, I needed a bird. I pinned a great fabric bird tutorial from Lavender's Blue Design FOREVER ago and was finally going to use it. You can get the printable template at the link above. I chose to use orange fleece material I had and the wing accent was from a bird on the crib sheet bedding. I traced the template and cut out each piece, pinned them where I wanted them and sewed them in place on the front facing piece of fabric (this will be the larger of the two pieces) using a overcasting stitch. 


Next, it was time to sew the two pieces of fabric together. Have the right sides of fabric facing each other and sew along the three sides that match in measurement. Leaving one end open.


Next, snip the inside corners like this 


Then you can flip the pillowcase right side out and stuff in the pillow.


Not sure how one would actually handle this, but here's what I did...My front fabric, once folded to the back kind of stuck up on the top and bottom so I decided to fold the fabric in and sew it at an angle.


Next, I marked using a piece of chalk where I wanted my buttons to go...I didn't measure to make them perfect, just eye-balled it. I used my sewing machine on a button hole setting and created the holes for my buttons. Once those holes were created, I placed the fabric how it would lay once the buttons were attached, marked through the button holes where the buttons should be placed, then sewed the buttons on by hand. I got something like this: 


All done! Now it can be placed in the crib (for now anyways) or on a chair or wherever you want.


I hope you guys enjoyed this tutorial. Thank you so much for stopping by and checking it out.


Sunday, August 31, 2014

Pinspiration Sunday: DIY Door Jammers


Have you seen these door jammers floating around on Pinterest? If you haven't, the idea is this...you can sneak in and out of your little one's room without having to turn the door knob and wake them. They are super cute and a crazy great idea...and once you've bought one, you realize, these would be so easy to make. Like everything else in our baby girl's nursery, I needed a custom made one to match, right?!?! ;) The best part? I already had all my supplies so it didn't cost me a thing...I love FREE! 
So here's how I made mine.

Supplies:
2 hair ties (those really thick ones)
fabric
cushiony (if that's a word) fabric like felt or fleece (I used fleece)
measuring and cutting tools
thread
sewing machine
iron


I had some fabric leftover from my crib bumper makeover so I used that. You want to cut your pieces into rectangles. My section of leftover fabric was 6 inches wide, so I cut my pieces 6" X 4" to get started.


Next, you want to fold your fabric edges over and iron them down. This will give you a nice smooth edge for your finished project. I didn't measure mine, just did one piece all the way around and then matched the second piece by laying it on top to see where my creases need to be made.


Next I cut my corners down so there wasn't so much fabric there.


Then, I cut a piece of fleece slightly smaller than my two fabric rectangles. 


And put it inside the folded over edges of one of the fabric rectangles.


Next, I put the hair ties in place on each end of the rectangle.


After that, I placed the second fabric rectangle on top, lining up the edges and pinning them together.


Now, you're ready to sew. As seen in the other images of door jammers, I sewed along the outside edge then moved in about a quarter inch or so and sewed all the way around again. This is how it turned out.


Here's the door jammer on the door, ready to go.


Hope you liked this tutorial! Thanks for stopping by!


Sunday, July 20, 2014

Pinspiration Sunday: DIY Adjustable Crib Bed Skirt


So here's a project I found on Pinterest from the blog  View Along the Way. I thought this was going to be ridiculously easy...and well it is...if you have proper tools and know what you're doing...that's not exactly me and I have this belly to contend with...


So I worked on my kitchen floor with the tools I had and the space I had to do it in. And it went something like this...

Supplies:

Fabric of your choice. As Kelly suggested I used a home decor 54" fabric and used about 2 yards
Measuring tools
Scissors
Fabric marker
Pins
Sewing Machine
Iron
Thread to match your fabric

**Be sure to wash, dry and iron your fabric first**

You'll need to measure your crib to get the exact dimensions you need for your project. Mine Measured 51.5 inches wide (across the front) X 27.5 inches deep X 17 inches high. Now Kelly suggested you add a one inch seam allowance and an additional 2 inches for the height. Therefore, I cutout 1 piece of fabric which measured 52.5 inches X 20 inches. TO make it easier on me I actually folded the fabric and measured with a yardstick 26.25 inches to get the length I needed. 


Next I worked on the 2 side panels. For this, I folded the fabric in half, ironed the fold and worked from there so I had less measuring and cutting. I measured, marked and cut to get 2 pieces that measured 28.5 inches X 20 inches.


This is the fold for the 2 side panels. Just cut along the fold and your pieces are done!

Now it's time to measure for those seams. Working with only a half inch on each side was torturous for my arthritis, but I did it. If I were to ever make something like this again I would allow more seam allowance. I measured and marked along the fabric 1/2 inch. Then I folded a section so the raw edge lined up with my marks and then I folded it over again and pinned. You can iron your edges, but I just went ahead a sewed it as they were.


Once all your edges are sewn it's time to attach Velcro if you have a spring bottom (if you have a fiberboard bottom you can just pin your skirt to that. For pics on a fiberboard bottom, check out Kelly's from View Along the Way). I took 5 pieces roughtly 4 inches long and sewed them as evenly as I could without actually measuring along the top of one of the longest panel (your front). I used 3 pieces on the side panels.


Now it's time to attach them! 


Once secured you can put your mattress on top. To find out how I made the crib sheet see my post HERE


All done with your awesome, one-of-a-kind crib skirt! Thanks so much for stopping by!


Sunday, March 30, 2014

Pinspiration Sunday: DIY Burp Cloths

My best friend is going to give birth to her first child, a little girl, in May and I wanted to make her something for her and baby. That's when I decided to make her some burp cloths. Because let's face it...she's gonna need 'em!


I pinned a tutorial many moons ago from Dana over at Made. She has a great tutorial on this very simple and very adorable project. Honestly, I whipped these up in no time. 

Here's what I used:
fabric- I purchased 3 different patterned flannel fabrics cut to a half yard each and a super soft fabric and got a yard of that. (now if you are only going to make a few this is a lot of fabric. I figured I could make some binky straps and have left overs for anyone else I know who may have a daughter down the road)
scissors
thread ( I used white for all of them)
pins
ruler
sewing machine

I cut my fabric, just as Dana had suggested, to measure 10 X 18 inches. I ironed the patterned fabric as needed


Next place the fabrics together facing one another


Pin around all the edges.


Next, start sewing. I started part way on the top and sewed around all edges. You'll want to leave a little gap at one area that has not been sewn so that you can flip the fabric to the correct side.


Before you turn it right side out, cut across each corner.


Then turn it out.


Next sew along the outside. This allows you to seal up the opening you used to turn the fabric out and it keeps that line all the way around.


Then split the burp cloth into thirds and sew two lines from side to side. This will help the fabrics stay together and give a nice area to fold.


There you have it...you're done! So simple and super cute! 


Thanks for stopping by!