Showing posts with label Cricut. Show all posts
Showing posts with label Cricut. Show all posts
Sunday, February 5, 2017
I'm Still Here and I'm Getting Crafty
Complications from my surgery and a series of unfortunate events have held me back from my Fall projection of getting back into crafting. But I'm here! And here's the latest...Enjoy!
Sunday, August 11, 2013
Pinspiration Sunday: BOO! Sign
So I've seen a lot of signs on Pinterest that say "BOO!" And I finally decided it was time to make my own. Everything I used in this project I already owned...whoo hoo! So here's how mine turned out:


Mine got a little bigger than I was originally aiming for. Here's my original pin:

This beautiful sign was for sale in an Etsy Shop called PeaceGlitzNGlam but has since sold.
I began my project with 3 wood pieces...I have a ton of these because I came across them one day in ACMoore and they were only 25CENTS!!!!!

I painted the fronts and sides with black craft paint and a sponge brush. I use sponge brushes whenever I can. They are crazy cheap and great to use and toss especially when working with Mod Podge!


After they dried it was time to cut the burlap. I happen to have a strip cut from a prev project which also happen to be the perfect width. All I had to do was cut the length. Burlap frays so easily...so here's a tip: pull one or two fibers out from the area you want to cut, then cut through that area. See the picture below? I pulled a thread out. then cut along that open space.


I did this for all three wood pieces. Then I covered the wood pieces with Mod Podge and pressed the Burlap on top to secure.


Next, I cut out letters using the Happy Hauntings font on my Cricut Craft Room and some creepy spider paper I had left from a previous Halloween mini album.

I decided then to ink the edges using Tim Holtz distressed ink in Peeled Paint. But after I started inking the edges, I decided to blend and cover the entire letter. I knew that I wanted to use 3D adhesive dots to help the letters stick off the wood pieces, but my paper was really thin. So I decided to laminate them. This also helped me to ensure that my sign could last through the years.


For some reason I decided to take this project even further. I had this picture and frame that I bought at a thrift store months ago for $1 or $2.

I pulled all those staples out.


Then I tried painting the front with craft paint. But I realized it was going to take A LOT of coats to cover it. So I flipped it over and painted the back.


I had this bottle of crackle medium...it's a very OLD bottle...but I gave it a shot...

After covering the frame with the crackle medium and allowed it to dry, I painted the frame black.


It worked...okay...but it's supposed to look grungy so it worked for me! By the end I went along some ridges and edges of the frame with silver craft paint too. While that dried I finished off the "picture" part. I knew I wanted something else for the background...plain purple just wasn't going to work. I thought about drawing some spiders on...but then I looked through my lace and I had a small piece of black that was just a bit longer than what I needed! WHOO HOO! Perfect! I covered the purple area with Mod Podge and pressed the lace on top to secure. Then I cut the excess off the ends.

Once it was all dry, then it was time to put the background back into the frame. I secured it with nails I had in a tool kit and added a picture frame hanging bar thing (technical name, I'm sure) to the back. Next I hot glued the wood pieces into place. The hands came from a bag full that I got from Michael's (and they have them this year too)!


Hope you enjoyed this tutorial! Thanks so much for stopping by!

Sunday, May 12, 2013
Pinspiration Sunday: DIY Canvas Quotes
I absolutely love these simple art pieces with a catchy phrase on them. When I came across this Pin from Southern Belle Soul, Mountain Bride Heart, I quickly wanted to try it.
Here’s what you will need:
Canvas
Newspaper, book pages, magazines
Adhesive/Sealant (i.e. Mod Podge)
Paint brush
Paint
Letter stickers
Here’s what I used:
8X10 canvas
Newspaper
Mod Podge in Matte
Paint brush
Orange and Bronze acrylic paint
Sticker letters (I made mine using a Cricut Machine, Cricut Craft Room Software, Cricut Vinyl, Plantin Schoolbook cartridge…all I had, so no purchase necessary!)

First I covered the canvas with Mod Podge and firmly pressed the newspaper on to the canvas and allowed it to dry overnight.Unfortunately my newspaper was attached a little crooked :^/ But what are ya gonna do? It's homemade!

My words are lyrics from The Lumineers’ song Dead Sea. I cut them out and placed them on the newspaper covered canvas.

Next I combined the orange and bronze paint until I reach my desired color and painted over the entire canvas (2 coats allowed them to dry in between) including the sides.

Then, carefully removed the letters.

Seal with Mod Podge…and you’re done!

This will look great on our made over bedroom wall :)
Here's the inspiration from Southern Belle's:

Sunday, February 17, 2013
Pinspiration Sunday: Wall Decor

So, 14 months after having my son I’m finally getting some décor put on his bedroom walls. While scrolling through Pinterest I came across a J&A and Company blog which provided free printables that she had used to decorate her children’s bathrooms. My son’s crib bedding is CoCaLo’s Turtle Reef which is shades of blues and greens and that’s what I was looking for in wall décor. Also, while on Pinterest I came across a great Winnie the Pooh quote which I just HAD to use! So here’s what I did…
You are my Sunshine:

First I purchased this awesome unfinished wooden tile board from Wal-Mart for under $10. Looked like this:

I originally planned on doing a multiple patterned design and incorporate the Winnie the Pooh quote. But I just didn’t like it. So I decided to do something else entirely different with that board (Check back in a few weeks to see what I do with the tiles). I stained the entire thing with walnut colored acrylic stain (as I’ve used in the past). Next, I used a 12 X 12 sheet of scrapbook paper cut to fit inside where the tiles would have gone. And mod podge that in place and allowed it to dry. I printed my free printable and just trimmed it down. I decided to back that sheet with another solid color scrapbook paper. But before I attached them together, I inked the edges of the paper with the phrase. Then I mod podged the entire board securing all the pages to it and allowed it to dry. Done! ***Just as a side note, if the paper starts to bubble just let it go...once it completely dries, it will lay flat.***
Winnie the Pooh:

This phrase I just typed up in Microsoft Word with the font called Minya Nouvelle in various sizes. I didn’t want to just put it on a white background but I didn’t really like any of the patterned paper I had so I went searching the web for circle prints in green or blue. I found this background. Saved the picture to my computer then inserted it to the background of my text and stretched it to fill the page. Then I printed that out. (The frame I used was purchased months ago from a thrift store for a buck or two)
I love you more:

This was another printable from J&A and Co. The frame is actually scrapbook paper. For Christmas, my husband’s Aunt Sarah got me the Fancy Frames Cricut cartridge. I measured how big I needed the opening to be and used my Cricut Craftroom software to manipulate the frame to fit the image. After I cut it out I used my ATG gun to attach the image to the frame. I then used some 3M strips to attach the frame to the wall.
And there you have it. I love how it turned out but I think it's missing something else. I was thinking about adding another picture but then I thought about putting his name on the wall. I have leftover vinyl that I used for the mustaches on his birthday ballons so I decided to write his name. Here's the final wall display.

Sunday, January 20, 2013
Pinspiration Sunday: Mustache Mugs
So you may have seen my AWESOME birthday party favor for the adults from my son's 1st birthday party...mustache mugs. But if you missed it, here's what I made:

So where did I get this idea? Pinterest, of course! A Beautiful Mess posted this great tutorial. This was probably the easiest project EVER! All you need is a mug (I got the white ones from Amazon for $20 per 12 mugs (unfortunately they only had one box left) and the black ones were from The Dollar Tree), a sharpie (I used black on the white mugs and silver on the black mugs), a baking sheet and an oven. Here's how I made mine...
I used my cricut machine with the Billionaire cartridge cut the mustache out of vinyl (which I already had because I was using the vinyl to make mustaches for the balloons). I stuck the mustache on the mugs and then traced around them. Next I took the mustache sticker off and colored it in. Then you bake them at 350 degrees for 30 minutes.
take them out and allow them to cool. These mugs were a HUGE HIT!
**SPECIAL NOTE** do not use in a dishwasher! Just gently hand wash them.
Sunday, December 16, 2012
Pinspiration Sunday: Earring Frame
THIS WEEK'S INSPIRATION:

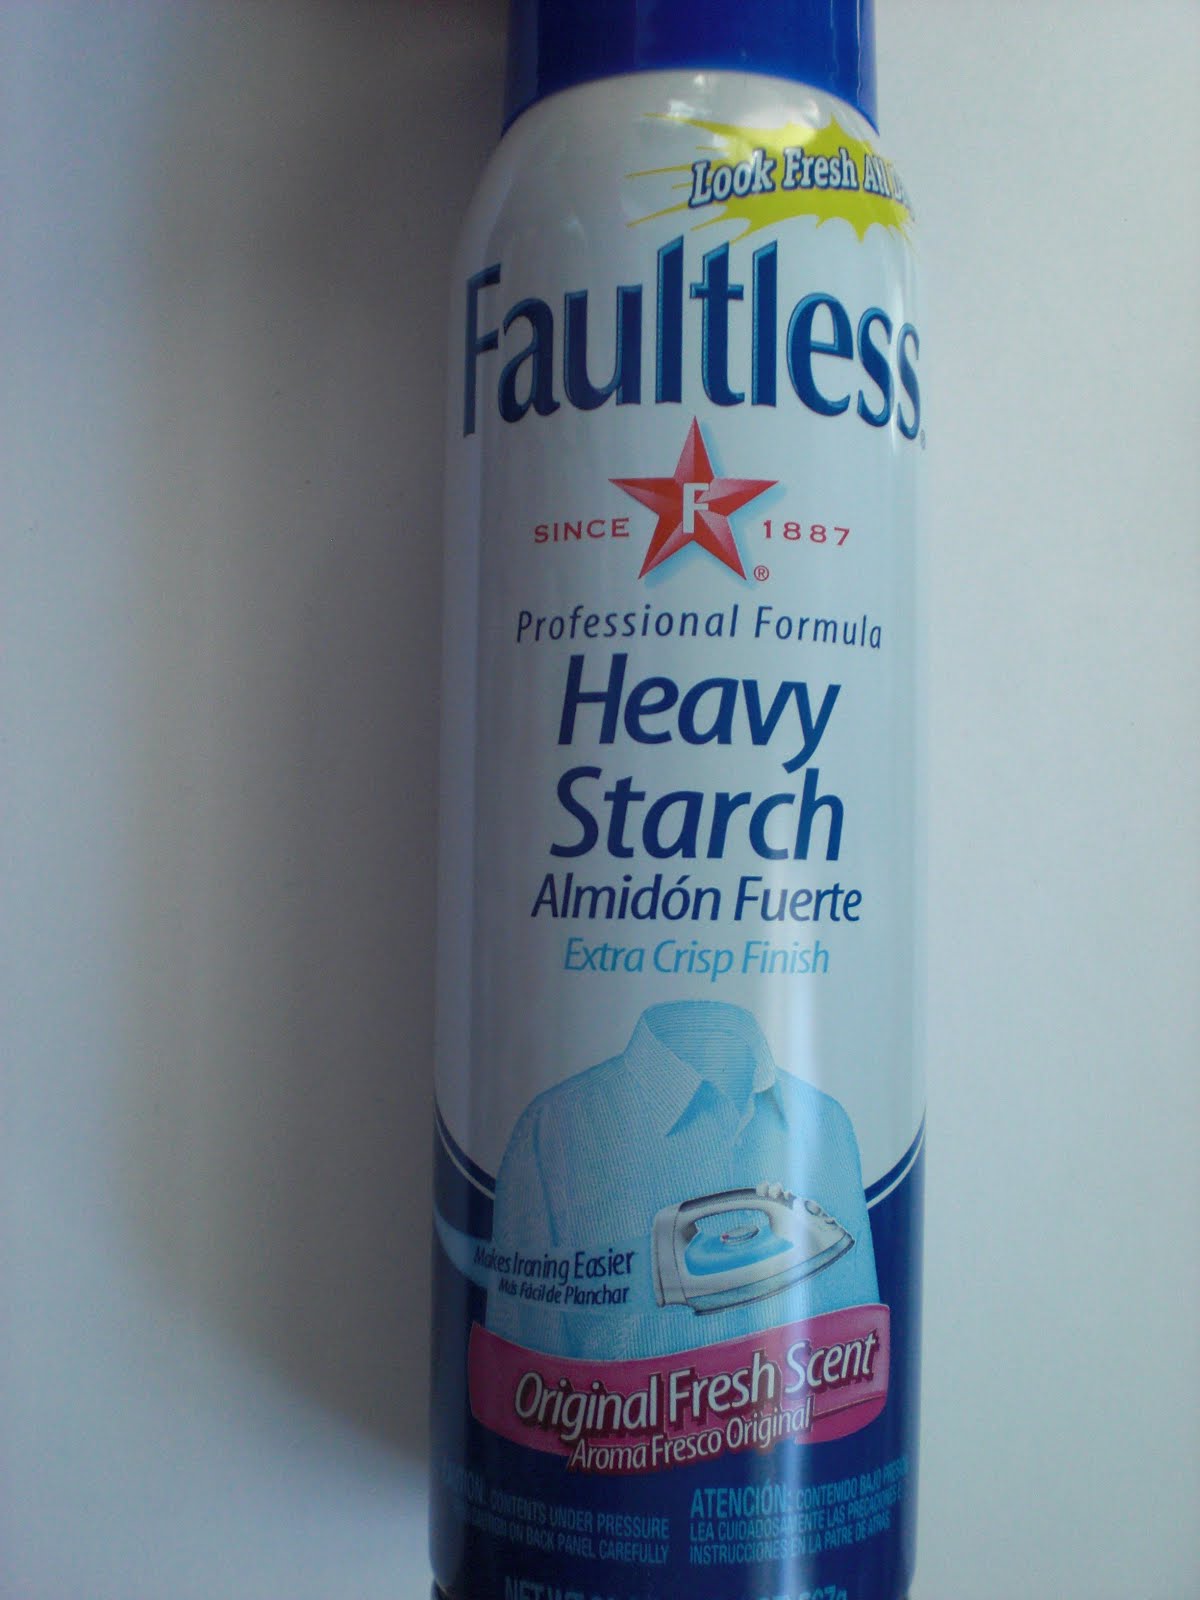
I found this cute gift idea on Pinterest quite awhile ago for a framed burlap earring holder. And now I’m in love with this project! And it’s going to be a Christmas gift for someone and I know if she sees this she will know right away that it is for her...but I had to post this. This project cost me $1.75 to make. I will repeat that…ONLY $1.75 TO MAKE!!!! WHOOOOOOO HOOO!!! The only items that I did not have on hand were the frame and spray starch. The frame I bought at a thrift store for only 25 CENTS and the starch was $1.50! Here is a list of what I used:
Thrift store frame
Acrylic paint (I used mint green and black)
Acrylic spray sealant
Hot glue and gun
Prima flowers
Tattered Angels glimmer mist (I used jingle bells and peach delight)
Burlap
Spray starch
Iron and ironing board
Cricut Craftroom Software and Jasmine Font Cartridge
Let’s get started. Here’s the original thrift store frame with the glass and backing removed:

I was originally planning to buy spray paint for this but I hadn’t gone to the store so I just decided to go with the acrylic craft paint I already had. I also have a plastic frame that I could use for this project and for that I would use spray paint. Using the craft paint on this wooden frame took 3 coats to get good coverage. I allowed that to dry then sprayed it with the acrylic sealer.

Next I went through my Prima flowers to see what I could use in this project. Now the original post showed a burlap and felt flower which I was going to try to make myself but I love the Prima flowers I have and I’m always looking for an excuse to use my glimmer mists. After I sprayed the flowers, I allowed them to air dry (you could use a heat tool but as I’ve said in the past, every project I do gets done in shifts. With the flowers I had to go to work so I let them air dry overnight)


Meanwhile I sprayed the burlap with starch and ironed it according to directions.

Next I used the Cricut Craft Room software to make the letter B. I knew my frame opening was for a 5X7” frame so I just made sure the letter was within those marking on the cricut mat and cut it out with cardstock. I placed the paper remaining from the cutout on to my burlap and used a sponge brush to stencil the letter on.


Then I used the glass to cut the correct measurement for the burlap.

After that I hot glued the burlap and flowers into place.


And there you have it. It’s a great personalized gift! Although it took me a span of 3 days to make this, I could have easily made several in one day. It was a very quick project and I’m sure I will be making more in the future.
***To get some good tips on using glimmer mists with Prima flowers, you gotta check out Marion Smith. Everything I learned about them, I’ve learned from her. The large yellow and orange one was made by first spraying the entire flower with jingles bells, then with a wet paint brush I dipped into the peach delight and just touched the tips of the flowers with the brush. The color bleeds well from there.***

I found this cute gift idea on Pinterest quite awhile ago for a framed burlap earring holder. And now I’m in love with this project! And it’s going to be a Christmas gift for someone and I know if she sees this she will know right away that it is for her...but I had to post this. This project cost me $1.75 to make. I will repeat that…ONLY $1.75 TO MAKE!!!! WHOOOOOOO HOOO!!! The only items that I did not have on hand were the frame and spray starch. The frame I bought at a thrift store for only 25 CENTS and the starch was $1.50! Here is a list of what I used:
Thrift store frame
Acrylic paint (I used mint green and black)
Acrylic spray sealant
Hot glue and gun
Prima flowers
Tattered Angels glimmer mist (I used jingle bells and peach delight)
Burlap
Spray starch
Iron and ironing board
Cricut Craftroom Software and Jasmine Font Cartridge
Let’s get started. Here’s the original thrift store frame with the glass and backing removed:

I was originally planning to buy spray paint for this but I hadn’t gone to the store so I just decided to go with the acrylic craft paint I already had. I also have a plastic frame that I could use for this project and for that I would use spray paint. Using the craft paint on this wooden frame took 3 coats to get good coverage. I allowed that to dry then sprayed it with the acrylic sealer.

Next I went through my Prima flowers to see what I could use in this project. Now the original post showed a burlap and felt flower which I was going to try to make myself but I love the Prima flowers I have and I’m always looking for an excuse to use my glimmer mists. After I sprayed the flowers, I allowed them to air dry (you could use a heat tool but as I’ve said in the past, every project I do gets done in shifts. With the flowers I had to go to work so I let them air dry overnight)


Meanwhile I sprayed the burlap with starch and ironed it according to directions.
Next I used the Cricut Craft Room software to make the letter B. I knew my frame opening was for a 5X7” frame so I just made sure the letter was within those marking on the cricut mat and cut it out with cardstock. I placed the paper remaining from the cutout on to my burlap and used a sponge brush to stencil the letter on.


Then I used the glass to cut the correct measurement for the burlap.

After that I hot glued the burlap and flowers into place.


And there you have it. It’s a great personalized gift! Although it took me a span of 3 days to make this, I could have easily made several in one day. It was a very quick project and I’m sure I will be making more in the future.
***To get some good tips on using glimmer mists with Prima flowers, you gotta check out Marion Smith. Everything I learned about them, I’ve learned from her. The large yellow and orange one was made by first spraying the entire flower with jingles bells, then with a wet paint brush I dipped into the peach delight and just touched the tips of the flowers with the brush. The color bleeds well from there.***
Subscribe to:
Posts (Atom)