Showing posts with label decorations. Show all posts
Showing posts with label decorations. Show all posts
Sunday, February 5, 2017
I'm Still Here and I'm Getting Crafty
Complications from my surgery and a series of unfortunate events have held me back from my Fall projection of getting back into crafting. But I'm here! And here's the latest...Enjoy!
Wednesday, February 11, 2015
A little Love
Hey guys! It's been so long...I've missed ya! So my life got a little crazy in October with the birth of my daughter...which was to be expected. I found a little time this weekend to work on a project finally. Here's the video:
Also, if you haven't already, check out these posts for free printables to create more
Valentine's Day decor.
Thanks for stopping by!
Saturday, August 23, 2014
Nursery Reveal
So my hubby was hard at work making over our spare room into a nursery for our baby girl. Here are a few pictures of what the room looked like just as we were beginning the transformation.


After some spackling, sanding, carpet ripping, painting, floor laying, projecting finishing and decorating...it looks like this:


Some DIY projects:
 |
| Scrapbook paper over fixture covers |
 |
| pillowcase |
 |
| mobile |
 |
| crib bumper |
 |
| artwork found on Pinterest |
Sunday, July 20, 2014
Pinspiration Sunday: DIY Adjustable Crib Bed Skirt

So here's a project I found on Pinterest from the blog View Along the Way. I thought this was going to be ridiculously easy...and well it is...if you have proper tools and know what you're doing...that's not exactly me and I have this belly to contend with...

So I worked on my kitchen floor with the tools I had and the space I had to do it in. And it went something like this...
Supplies:
Fabric of your choice. As Kelly suggested I used a home decor 54" fabric and used about 2 yards
Measuring tools
Scissors
Fabric marker
Pins
Sewing Machine
Iron
Thread to match your fabric
**Be sure to wash, dry and iron your fabric first**
You'll need to measure your crib to get the exact dimensions you need for your project. Mine Measured 51.5 inches wide (across the front) X 27.5 inches deep X 17 inches high. Now Kelly suggested you add a one inch seam allowance and an additional 2 inches for the height. Therefore, I cutout 1 piece of fabric which measured 52.5 inches X 20 inches. TO make it easier on me I actually folded the fabric and measured with a yardstick 26.25 inches to get the length I needed.


Next I worked on the 2 side panels. For this, I folded the fabric in half, ironed the fold and worked from there so I had less measuring and cutting. I measured, marked and cut to get 2 pieces that measured 28.5 inches X 20 inches.


 |
| This is the fold for the 2 side panels. Just cut along the fold and your pieces are done! |
Now it's time to measure for those seams. Working with only a half inch on each side was torturous for my arthritis, but I did it. If I were to ever make something like this again I would allow more seam allowance. I measured and marked along the fabric 1/2 inch. Then I folded a section so the raw edge lined up with my marks and then I folded it over again and pinned. You can iron your edges, but I just went ahead a sewed it as they were.


Once all your edges are sewn it's time to attach Velcro if you have a spring bottom (if you have a fiberboard bottom you can just pin your skirt to that. For pics on a fiberboard bottom, check out Kelly's from View Along the Way). I took 5 pieces roughtly 4 inches long and sewed them as evenly as I could without actually measuring along the top of one of the longest panel (your front). I used 3 pieces on the side panels.


Now it's time to attach them!


Once secured you can put your mattress on top. To find out how I made the crib sheet see my post HERE


All done with your awesome, one-of-a-kind crib skirt! Thanks so much for stopping by!
Saturday, January 11, 2014
Free Valentine's Day Printable
To get you into the Valentine's Day spirit I'm giving you this fun printable I made.
It can be downloaded in 3 different color combinations.
The first is for those of you who want the festive colors

Next is for those who want to showcase a pretty colorful frame

The last is for those who want to print it out on colored/patterned paper

You can download all 3 images HERE. Enjoy! Thanks for stopping by!
Sunday, December 22, 2013
Pinspiration Sunday: Christmas Balls in a Shadow Box
So I've seen various takes on displaying either Christmas balls or bells in a shadow box with a cute phrase attached in or around it. Well here's my take on it:

I bought 2 shadow boxes about 6 weeks ago from a local thrift store I paid $3 each for them. Since they were an already made up, manufactured decoration, I had to take it apart first. Once it was apart, I took the cardboard backing and covered it with Mod Podge and pressed the burlap onto it.


Once that dried, I cut the excess burlap off around the cardboard edges.
I bought some small ornaments on black friday from Kmart for about $3. I put them inside the frame. Now the frame wasn't quite deep enough from my ornaments so I couldn't use the nails that were located on the back to hold the cardboard in place. Instead, I taped the cardboard back on. Next, the fame was a little beat up with a few spots that had some sticker residue.

For that I simply took a sanding block and sanded the white frame. Then I took a damp cloth and wiped the frame down.
Next it was time to decide what to write on the front. I was originally thinking about cutting something out with vinyl on the cricut machine but then I remembered something else I bought on black friday. I got this from JoAnn Fabrics for $5!

I chose the word "peace".
It's a sticker, so I just stuck it on the front glass.

And there you have it....a Christmas ball shadow box decoration.

Hope this inspires you! Thanks for stopping by!
Thursday, December 19, 2013
Twig Tree Decoration
Looking for a last minute gift idea for someone who has everything? Or maybe you just want crafty idea for yourself? Either way this is the perfect thing...a twig Christmas tree!

I found a image of a twig tree floating around Pinterest and had to try it.
Here's what I used:
8 X 10 canvas
burlap
mod podge
sticks I collect from our town park
yarn (which I had left from this project)
berries from a berry garland
wire cutters (to cut the berries off the garland)
wire cutters (to cut the berries off the garland)
Marion Smith's Vintage Trinkets
hot glue & gun

First I attached my burlap to the canvas. I used Mod Podge to cover the front surface and along the sides. I smoothed out a piece of burlap over top the canvas. I then flipped it over and pulled the burlap tight all the way around it and secured it with hot glue. I allowed the mod podge to dry.
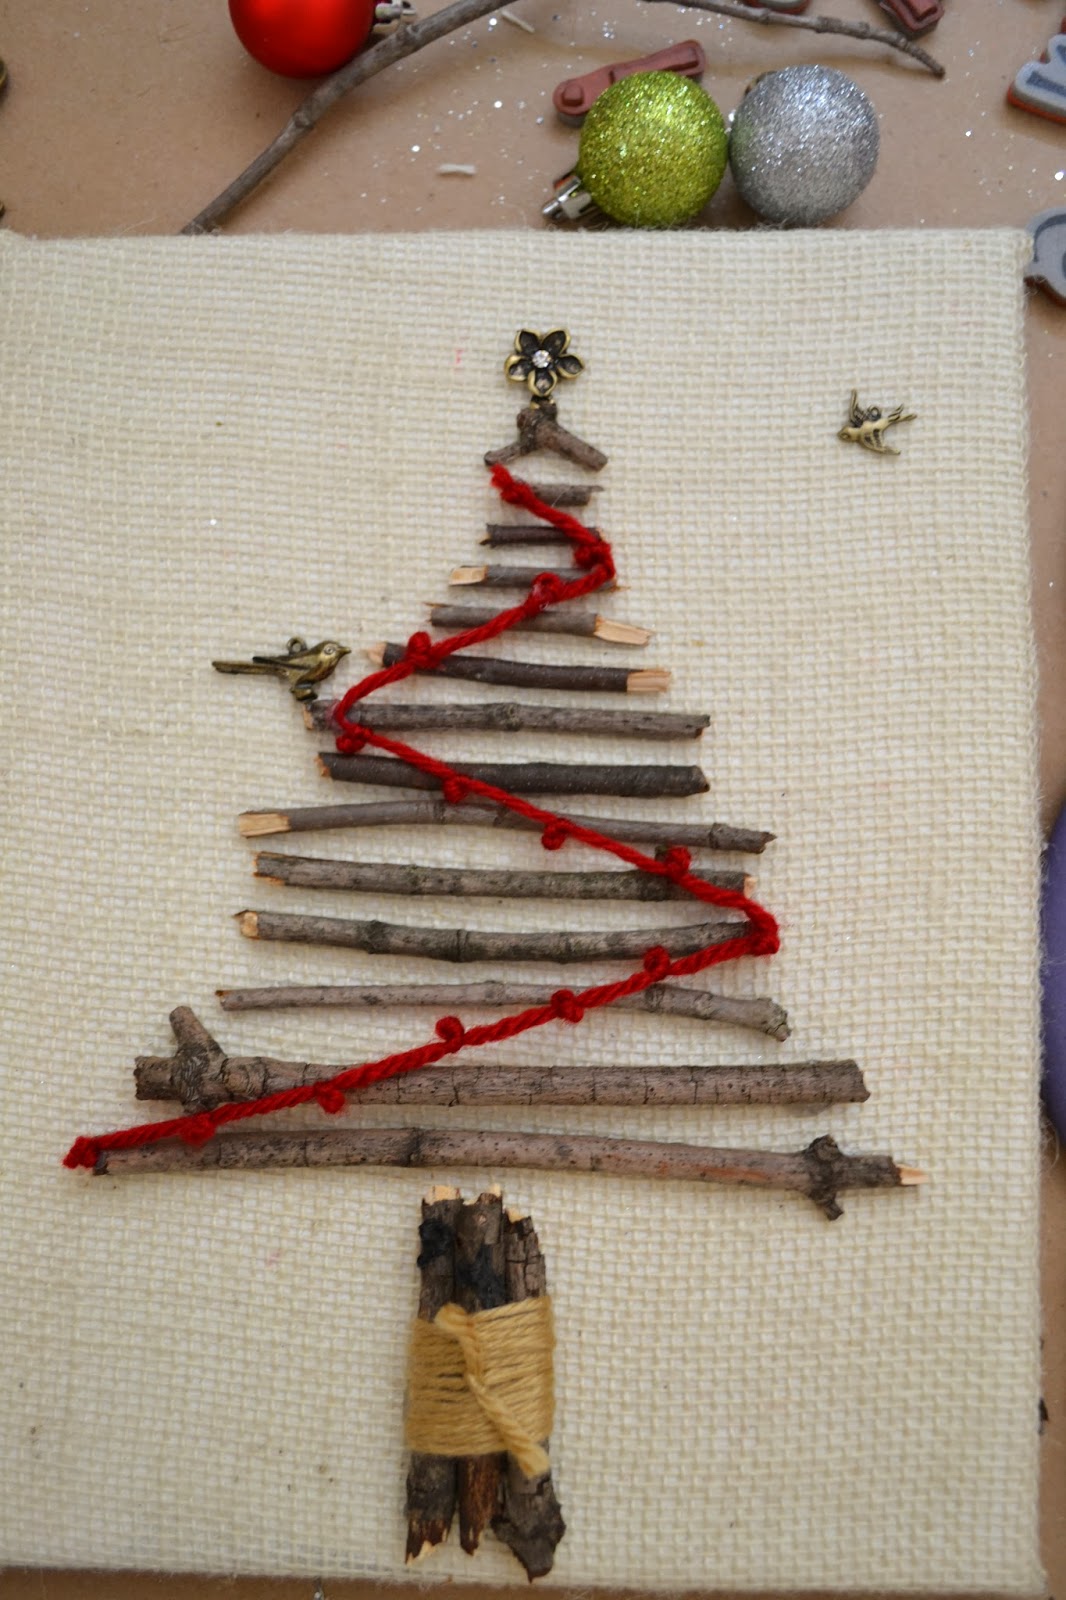
Next, I broke my stick pieces and lined them up on the canvas to take the shape of a tree.

Next I decided to wrap yarn around the "trunk" of the tree. I just wrapped the yarn around it several times and then tied a knot in front. I then glued all the sticks in place. And added some Marion Smith vintage trinkets as the tree topper and some extra embellishments.

Then I made the garland. I took a piece of red yarn and tied knots along it. The knots were made tying them 3 at a time together then moving about an inch (guessing, I didn't actually measure them) away and tied the knots again.
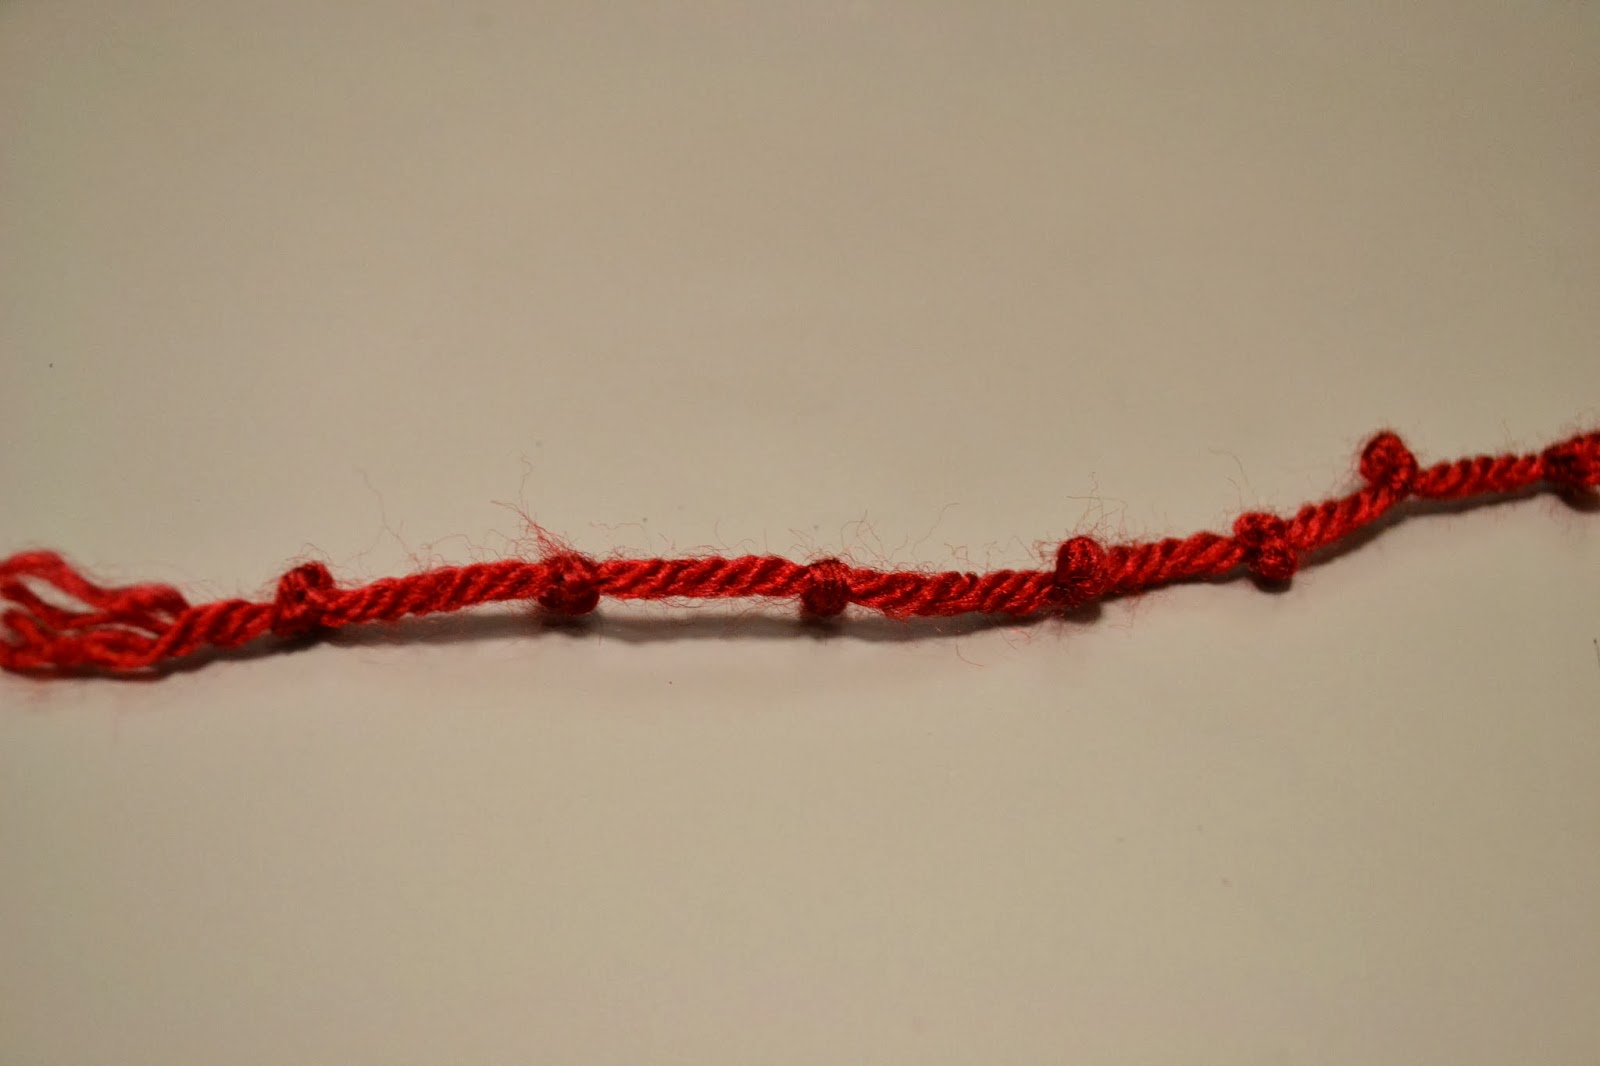

Then I hot glued the yarn in a zig-zag pattern going up the tree.
Next, I finished decorating the tree by adding berries I had from a berry garland I bought awhile ago on clearance from A.C. Moore. I used wire cutters to remove the berries then hot glued them into place.


Here's the finished tree!

Hope you enjoyed this quick last minute Christmas decoration. Thanks for stopping by!
Subscribe to:
Posts (Atom)