Sunday, July 20, 2014

Pinspiration Sunday: DIY Adjustable Crib Bed Skirt


So here's a project I found on Pinterest from the blog  View Along the Way. I thought this was going to be ridiculously easy...and well it is...if you have proper tools and know what you're doing...that's not exactly me and I have this belly to contend with...


So I worked on my kitchen floor with the tools I had and the space I had to do it in. And it went something like this...

Supplies:

Fabric of your choice. As Kelly suggested I used a home decor 54" fabric and used about 2 yards
Measuring tools
Scissors
Fabric marker
Pins
Sewing Machine
Iron
Thread to match your fabric

**Be sure to wash, dry and iron your fabric first**

You'll need to measure your crib to get the exact dimensions you need for your project. Mine Measured 51.5 inches wide (across the front) X 27.5 inches deep X 17 inches high. Now Kelly suggested you add a one inch seam allowance and an additional 2 inches for the height. Therefore, I cutout 1 piece of fabric which measured 52.5 inches X 20 inches. TO make it easier on me I actually folded the fabric and measured with a yardstick 26.25 inches to get the length I needed. 


Next I worked on the 2 side panels. For this, I folded the fabric in half, ironed the fold and worked from there so I had less measuring and cutting. I measured, marked and cut to get 2 pieces that measured 28.5 inches X 20 inches.


This is the fold for the 2 side panels. Just cut along the fold and your pieces are done!

Now it's time to measure for those seams. Working with only a half inch on each side was torturous for my arthritis, but I did it. If I were to ever make something like this again I would allow more seam allowance. I measured and marked along the fabric 1/2 inch. Then I folded a section so the raw edge lined up with my marks and then I folded it over again and pinned. You can iron your edges, but I just went ahead a sewed it as they were.


Once all your edges are sewn it's time to attach Velcro if you have a spring bottom (if you have a fiberboard bottom you can just pin your skirt to that. For pics on a fiberboard bottom, check out Kelly's from View Along the Way). I took 5 pieces roughtly 4 inches long and sewed them as evenly as I could without actually measuring along the top of one of the longest panel (your front). I used 3 pieces on the side panels.


Now it's time to attach them! 


Once secured you can put your mattress on top. To find out how I made the crib sheet see my post HERE


All done with your awesome, one-of-a-kind crib skirt! Thanks so much for stopping by!


Sunday, July 6, 2014

Pinspiration Sunday: DIY Crib Sheet


So after discovering we were having a baby girl the next thing we had to think about was the nursery. I searched on Pinterest for some bedding ideas and I found a beautiful set that was completely out of our budget. So then I decided to scour the site for DIY tutorials. Now, as I have stated before, I'm not a seamstress but I will try my hand at a project. This tutorial from Pretty Prudent was just up my alley. It's fairly quick and simple especially for a novice like me. So let's get to it. Here's how I made mine which was to fit a standard crib mattress:


Supplies:
at least 2 yards of fabric of your choice will work for a standard crib mattress--I actually bought 3 yards of a baby soft flannel fabric I figured I could make something extra with the leftovers
Thread to match fabric
one yard of elastic (I used 1/2" width and the originally tutorial called for 3/4")
Pins
Iron
washing machine

Start by washing and drying your fabric. This part I usually skip for projects but I really wanted to do this project correctly so I was sure not to skip this first step. This is in case fabric shrinks, you don't want that to happen after you've finished. Once it was dry I ironed the entire piece.
Next cut the fabric to 68 inches long. I used a standard fabric which was about 45" wide so I left that width. 
Then cut an 8 X 8 inch square out of each corner. (Apparently I forgot to take pictures of this, sorry guys). 

Turn the fabric so face side to face side and sew each one of the corners together with a straight stitch.


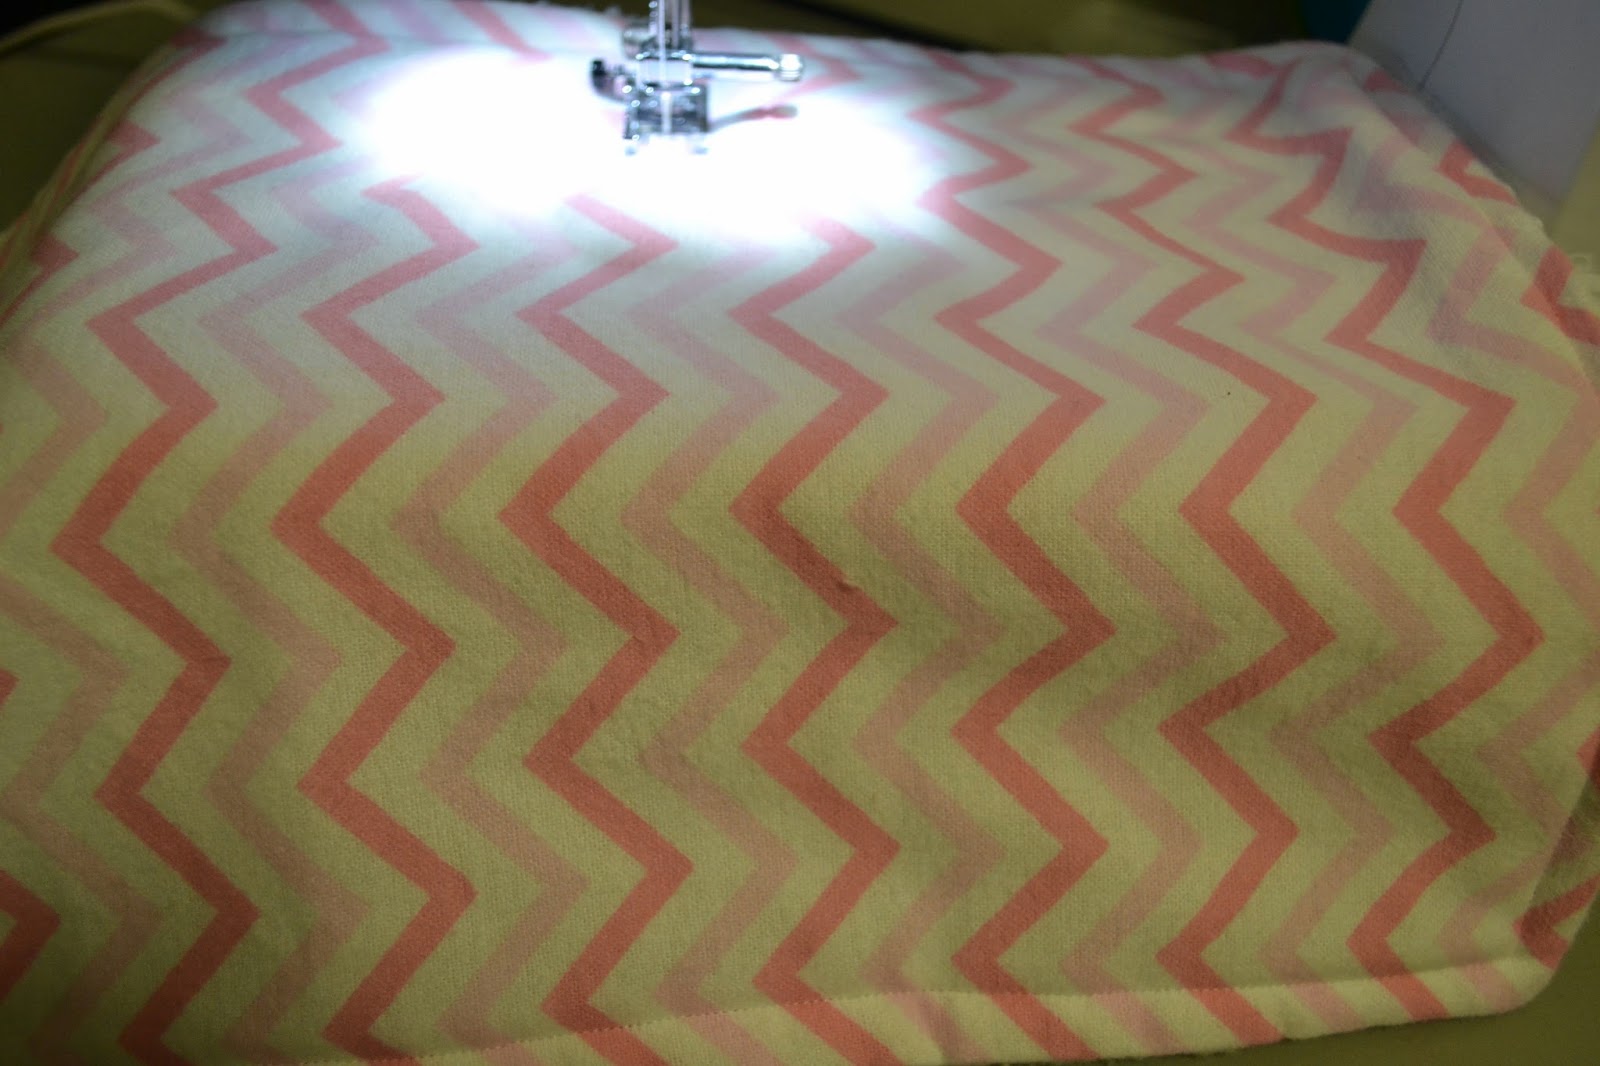
Next you are going to fold, pin, iron and sew a hem along all four sides with a straight stitch. If you place the pins like mine, you can sew right over them and then take them out later.


Now it's time to sew the elastic into the corners. Cut your yard of elastic into four equal sections which will be 9" long. You are going to pin your elastic to the under side of the crib sheet and stretch it from one end of the elastic to the other. I started by folding my elastic section in half and pinning that in the seam of that crib sheet corner. Then I stretched the elastic out from the corner to one end and pinned it wherever it ended on the crib sheet. Then did it to the other end. You'll have 3 pins holding the elastic, one on each end and one in the middle. The crib fabric will be loose between these pins. Next comes the sewing.

You will need to find which setting is used on your machine. My setting looked very different from the tutorial I followed. I used the stitch for the setting 05. Be sure yours is set correctly for your machine.


 As you sew you are going to pull and stretch the elastic tight across your fabric. Pull both from behind the pressure foot and in front of the machine. Sew the entire length of the elastic. Repeat these steps on the last 3 corners. Your finished corners should look something like this. The fabric will now be attached and gathered.


As you can see it took me awhile to get the hang of this stitch.
Once those corners are finished, so are you! Your crib sheet is ready to be placed on the mattress.


Now step back and enjoy your handy work (I know I did!).
Now I gotta get started on the bed skirt and bumper...wish me luck!

 I hope you guys liked this tutorial. Thanks so much for stopping by!!!!


Friday, May 16, 2014

More Changes Coming My Way

Some of you may have wondered what happened to me. I've been pretty MIA these last few months. Lot's of new changes are coming my way. For one, we are expecting our second child. The first trimester was especially rough this time and with my RA and trying not to take meds, I had the awful pregnancy symptoms that many experience and I had horrible flare-ups with my RA. But as I'm about to approach the half way point of this pregnancy I'm starting to feel pretty good. 
Next area of news is that I also accepted a new job that is close to home and I get to spend more time with my family. This is a great opportunity for my to expand my career and experience another area of ultrasound that I have been missing. I'm very excited. But with this new job comes some study and prepping to sit for another nation board exam. So as much as I would like to say that I will be able to get more posts out to you, I fear that that will not be the case. However, my training for these new credentials will not be starting until the Fall, so I'm hoping to provide you with some great DIY projects this Summer and share how we'll prepare our new nursery. 
I just want to thank everyone who keeps coming back and checking in on me. You guys are great! 

Sunday, May 4, 2014

Printable Letterboxing Journal

Well here it is gang! My printable for letterboxing. It's simple and it's cheap! Only $4 at my Etsy shop! 


Sunday, March 30, 2014

Pinspiration Sunday: DIY Burp Cloths

My best friend is going to give birth to her first child, a little girl, in May and I wanted to make her something for her and baby. That's when I decided to make her some burp cloths. Because let's face it...she's gonna need 'em!


I pinned a tutorial many moons ago from Dana over at Made. She has a great tutorial on this very simple and very adorable project. Honestly, I whipped these up in no time. 

Here's what I used:
fabric- I purchased 3 different patterned flannel fabrics cut to a half yard each and a super soft fabric and got a yard of that. (now if you are only going to make a few this is a lot of fabric. I figured I could make some binky straps and have left overs for anyone else I know who may have a daughter down the road)
scissors
thread ( I used white for all of them)
pins
ruler
sewing machine

I cut my fabric, just as Dana had suggested, to measure 10 X 18 inches. I ironed the patterned fabric as needed


Next place the fabrics together facing one another


Pin around all the edges.


Next, start sewing. I started part way on the top and sewed around all edges. You'll want to leave a little gap at one area that has not been sewn so that you can flip the fabric to the correct side.


Before you turn it right side out, cut across each corner.


Then turn it out.


Next sew along the outside. This allows you to seal up the opening you used to turn the fabric out and it keeps that line all the way around.


Then split the burp cloth into thirds and sew two lines from side to side. This will help the fabrics stay together and give a nice area to fold.


There you have it...you're done! So simple and super cute! 


Thanks for stopping by!

Friday, February 7, 2014

Carnival of Love Printable & Giveaway

Check out my latest printable...just in time for Valentine's Day!


And I'm having another giveaway! The winner will get the free download of this printable. All you have to do to enter is leave a comment on this page or on my YouTube video. I will pick a winner on  February 13, 2014.
Good luck everyone!!!