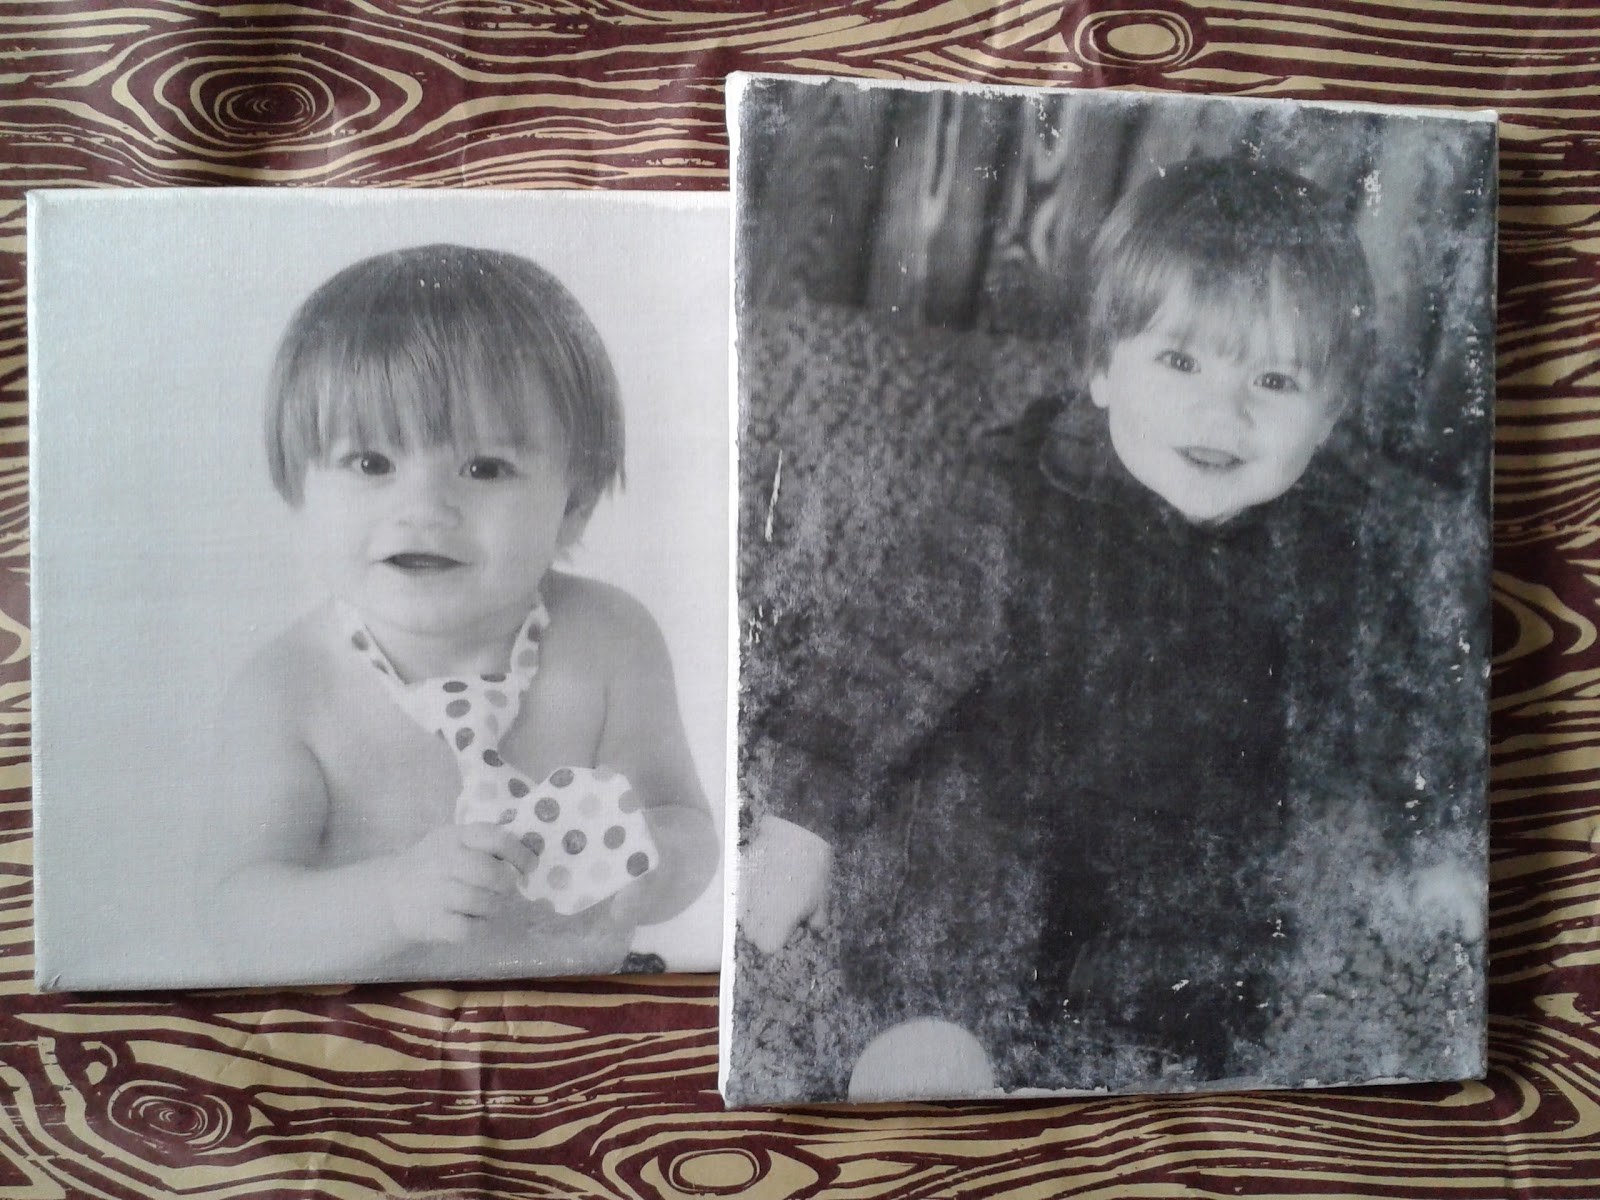
Thanks to the wonderful world on Pinterest, my best friend, Angela, and I stumbled across A Beautiful Mess and we're pretty much desperate to hang out with Elsie and Emma. They encompass all that we love. There are a number of great projects that I am looking forward to creating….and this is one of them. This is transferring a picture to canvas. I’ll take you through how I made my first one, however, I don’t really like how it turned out. The reason being is that I think there is too much dark tones so I tried it with a lighter image and I love how it turned out.
So here’s what I used:
Laser copy of picture (I made it 8 X 10 because that’s the size canvas I had)
Spray bottle with water
Paint brush
Canvas (I got a 10 pack from A.C. Moore. It was regularly $19.99 but I used a 40% coupon!)
My pictures are from the very talented Karey Dean of Karey Dean Photography. She captures the most beautiful images. And to be honest, since these pictures are a black and white copy they DO NOT do her work justice. She is so incredibly talented! You can check out her amazing portraits and other photos on her website, her blog or on Facebook.

I covered the entire front of an 8 X 10 canvas with the Liquitex.

Placed my photocopied image face down on top of the canvas, smoothed it out and allowed it to dry overnight.

The next morning I misted the paper with water from my spray bottle and gently rubbed until the image showed through. This is a long process….don’t try to hurry it too much or you will rub the image right off the canvas (although I like the look of that scattered throughout).

Once finished, seal in the image with the gel medium and allow to dry….then hang and enjoy!

The darker the image the more the paper fibers showed....so, I tried it with a picture a little brighter.

I just want to thank you, Karey, for allowing me to use your stunning pictures for this! And thank you to everyone who stopped by to check out this project!
**Special Note: A Beautiful Mess had lots of questions from their original post. I encourage you to check them out if you are having any difficulties. They go through and show different techniques and products used which did not have as good of an outcome as I have just demonstrated. I followed exactly how they described being the best way to complete this project....have fun!


