Showing posts with label Pinspiration Sunday. Show all posts

Sunday, September 14, 2014

Pinspiration Sunday: DIY Mobile

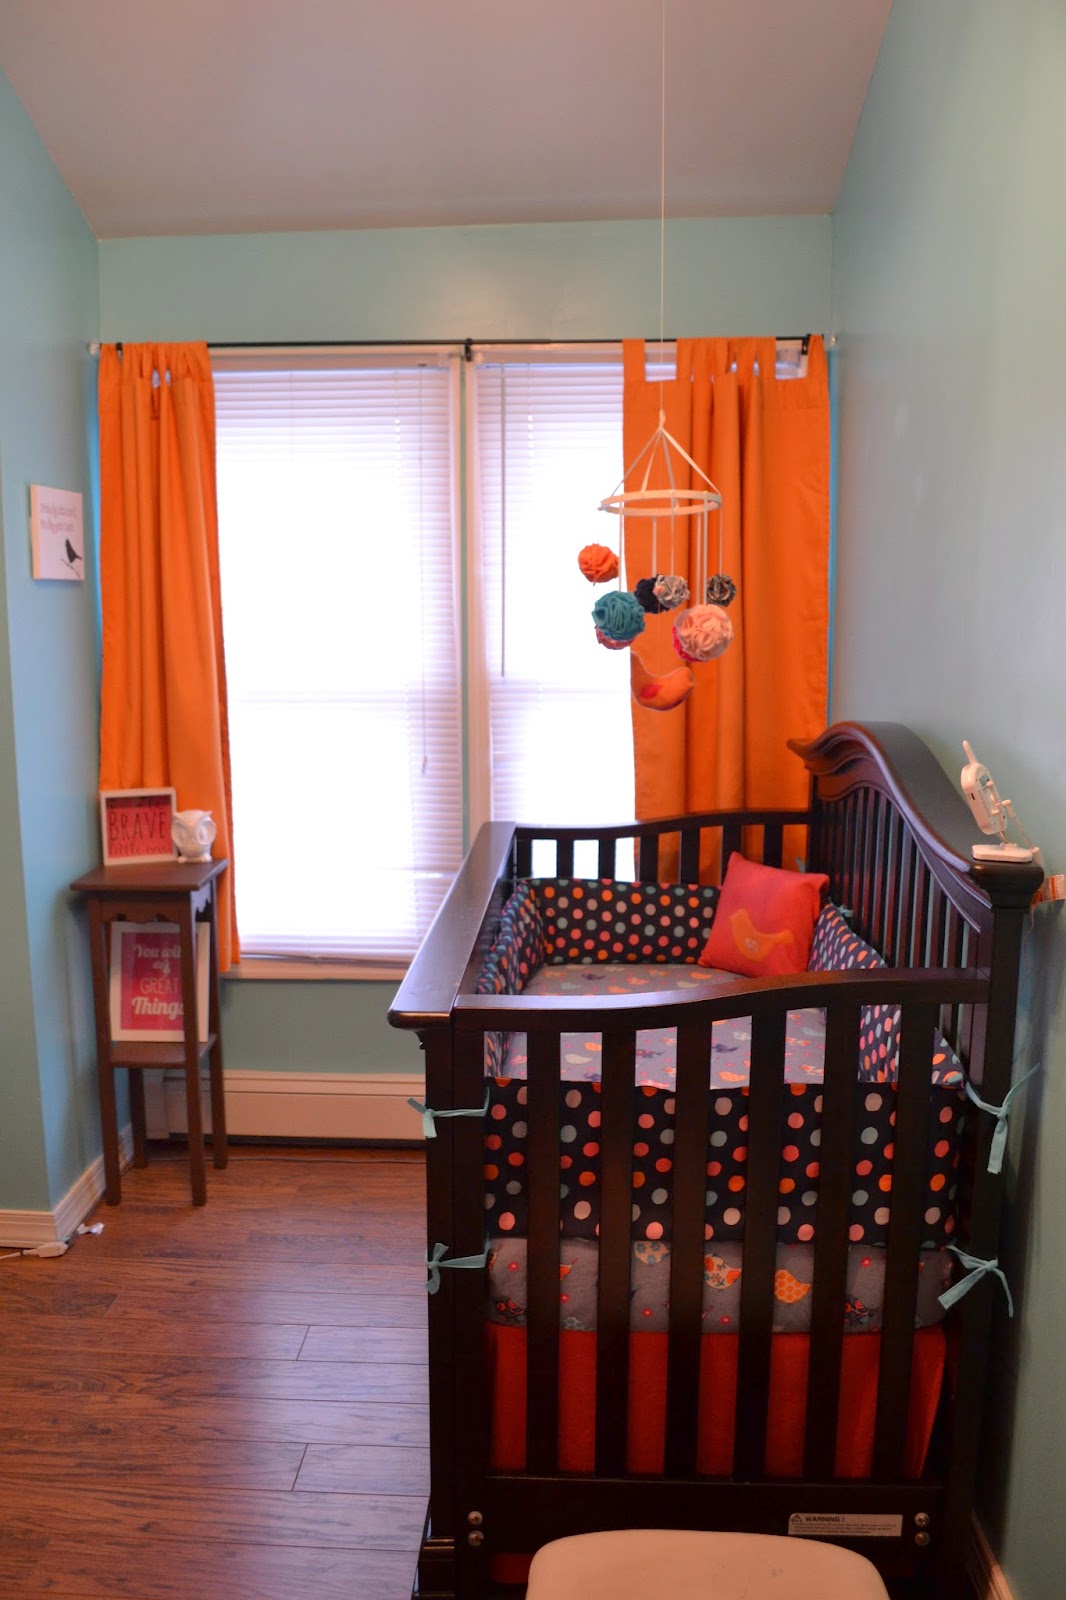
Are you tired of nursery DIY tutorials? Me neither! So here's another one...DIY mobile.


My inspiration came from this picture on Pinterest from an Etsy Shop called  Marigold Poms.

I could make something like this

Here's how I made mine...

Supplies:
Embroidery hoop (I used a 12in)
ribbon/string
fabric in varying colors
corks
hot glue
pins

OPTIONAL:
spray paint (I used a cream color)
Bird (which I made)
sewing machine
matching thread

First things first you have to make your pom poms. I used different types of fabric which included cottons, fleece and felt. I cut out a bunch of circles for each fabric.


Next, instead of buying Styrofoam balls, I decided to use corks, which I have a ton of (saving them for some other project I might get around to doing someday). I cut them in half. 


Here's a video to show you exactly how I assembled them.


Next, I wanted to incorporate a bird into the mobile. I used the fabric bird tutorial I found on Lavender's Blue Designs . You can click over to her page for the pattern and follow her directions from there. I also took pictures along the way to show you the process. 


After you print and cut out the FREE pattern, you can trace each piece onto the fabric you plan to use. You will trace and cut out 2 bird shapes and 2 wing shapes but only 1 bottom.


Next, I used an overcasting stitch to attach one wing to each bird. 


Then, with the right sides of the two birds facing each other, sew along the top of the bird from the beak to the tail .


No you want to start on the bottom. Remember, the right sides of the fabric should face each other. Pin along the edge and sew, first one side then the other.


Now that it's sewn, turn it right side out.


Now it's time to stuff it. I used the stuffing from an old toy my son no longer plays with. Once you've stuffed it, you want to sew the tail. And you should get something like this.


For the embrodiery hoop, I spray painted mine a cream color and allowed it to dry completely.


Next I used ribbon to attach the pom poms I made and enough to hang the mobile. It goes something like this


I used orange thread that was quadrupled up to attach the bird which was tied into the middle knot of the ribbon seen in the middle of the hoop. Then I used a thicker string to hang the mobile from the ceiling.


Sunday, August 10, 2014

Pinspiration Sunday: DIY Changing Pad Cover


Here's another post on getting the nursery ready. I'm on overdrive as they are thinking of placing me on bed rest and have given me steroids in case I should have a preterm delivery. So it's time to get these projects done. This one came from Pretty Prudent again. I used the left over fabric from my crib sheet tutorial and my adjustable crib skirt tutorial.

Supplies:
Fabric of your choice
sewing machine
thread 
elastic
pins and a safety pin
scissors
measuring tools
iron

*Be sure to wash and dry your fabric before you begin*


My changing pad is the standard  32" long X 16" wide and 3-4" high so these directions are for those measurements. Since I used two fabrics I measured one to be 17.5" X 32" and the other 30.5" X 32". or you can use one fabric and cut it to measure 48" X 32".

Place your fabrics facing one another along the 32" side and sew them together. Jaime suggested then trimming the seam with pinking shears but I don't own those so I did not (like I've said before I'm not a seamstress). Then iron your seam flat.


Next cut 8" X 8" squares out of each corner. 


Now with the two sides facing each other sew along to create your corners.


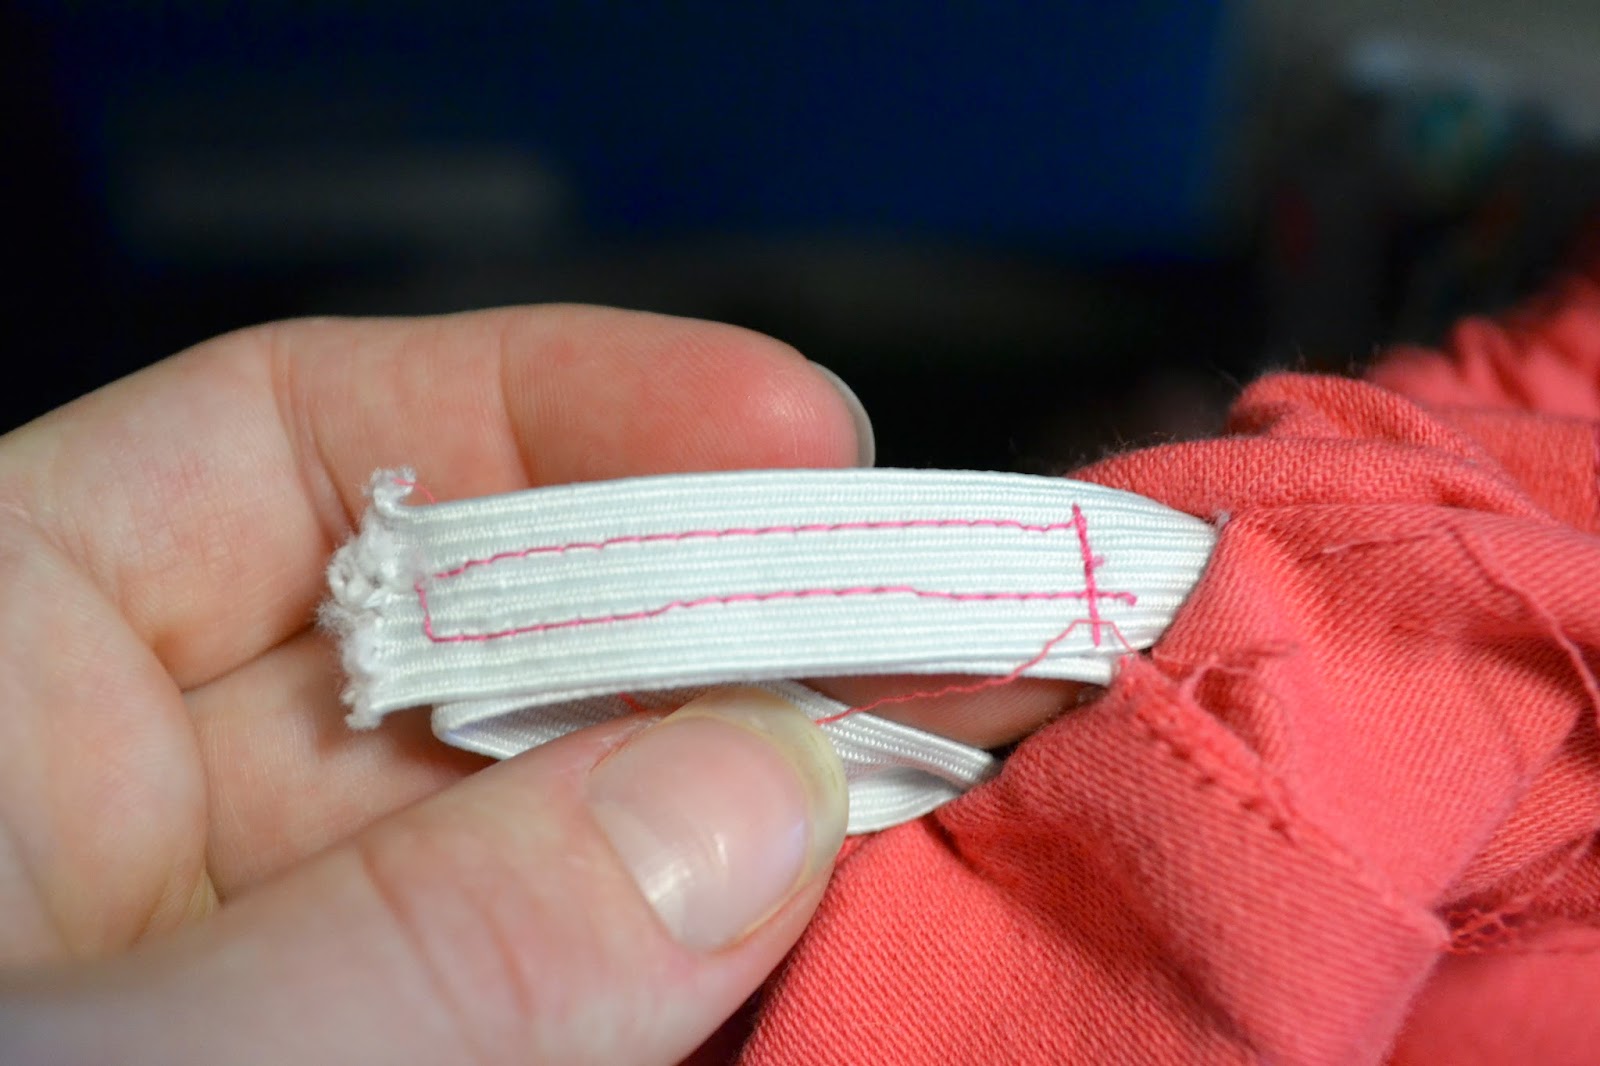
Now it's time to create the hem to feed your elastic through. Fold your fabric over about a half inch  or so and iron. Then fold over again and pin (this time I didn't iron...I'm lazy). Next sew along to create your hem leaving room so that you can thread your elastic through. Start in one corner, back stitching and leave room when you come back to that corner to thread the elastic and back stitch.


Add caption

Jaime said to use a yard of elastic 5/8" or less. I used a 1/2" elastic and once I finished it was too tight and my changing pad would not lay flat so I took the elastic out and used a 46" piece and this worked great for me. Pin one end to the cover and pin a safety pin to the other end and feed through the hem you've made.


Once all the way through, sew the two ends of the elastic together. 


Now you can finish sewing the gap you left. You should get something that looks like this.


Now it's time to put it on the changing pad...you're done!


Thanks for stopping by!


Sunday, July 20, 2014

Pinspiration Sunday: DIY Adjustable Crib Bed Skirt


So here's a project I found on Pinterest from the blog  View Along the Way. I thought this was going to be ridiculously easy...and well it is...if you have proper tools and know what you're doing...that's not exactly me and I have this belly to contend with...


So I worked on my kitchen floor with the tools I had and the space I had to do it in. And it went something like this...

Supplies:

Fabric of your choice. As Kelly suggested I used a home decor 54" fabric and used about 2 yards
Measuring tools
Scissors
Fabric marker
Pins
Sewing Machine
Iron
Thread to match your fabric

**Be sure to wash, dry and iron your fabric first**

You'll need to measure your crib to get the exact dimensions you need for your project. Mine Measured 51.5 inches wide (across the front) X 27.5 inches deep X 17 inches high. Now Kelly suggested you add a one inch seam allowance and an additional 2 inches for the height. Therefore, I cutout 1 piece of fabric which measured 52.5 inches X 20 inches. TO make it easier on me I actually folded the fabric and measured with a yardstick 26.25 inches to get the length I needed. 


Next I worked on the 2 side panels. For this, I folded the fabric in half, ironed the fold and worked from there so I had less measuring and cutting. I measured, marked and cut to get 2 pieces that measured 28.5 inches X 20 inches.


This is the fold for the 2 side panels. Just cut along the fold and your pieces are done!

Now it's time to measure for those seams. Working with only a half inch on each side was torturous for my arthritis, but I did it. If I were to ever make something like this again I would allow more seam allowance. I measured and marked along the fabric 1/2 inch. Then I folded a section so the raw edge lined up with my marks and then I folded it over again and pinned. You can iron your edges, but I just went ahead a sewed it as they were.


Once all your edges are sewn it's time to attach Velcro if you have a spring bottom (if you have a fiberboard bottom you can just pin your skirt to that. For pics on a fiberboard bottom, check out Kelly's from View Along the Way). I took 5 pieces roughtly 4 inches long and sewed them as evenly as I could without actually measuring along the top of one of the longest panel (your front). I used 3 pieces on the side panels.


Now it's time to attach them! 


Once secured you can put your mattress on top. To find out how I made the crib sheet see my post HERE


All done with your awesome, one-of-a-kind crib skirt! Thanks so much for stopping by!